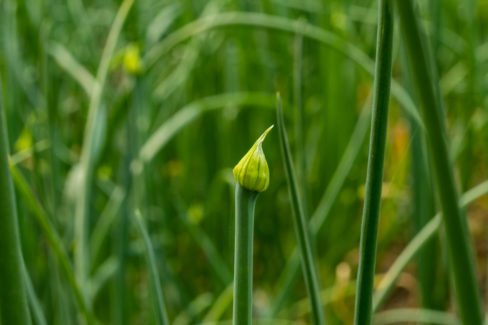
Garlic chives were a bit of a mystery in our neck of the woods for a long time, and honestly, they’re still pretty hard to find at the local grocery store. As fall rolls around, I always get asked the same thing: “Are garlic chives actually winter-hardy, or do I need to baby them through the cold?”
How winter-hardy are garlic chives, really?
Garlic chives are tougher than they look when it comes to frost. Once the cold snaps, the leaves and flowers will die back, but don’t panic! Underground, the root system is just taking a nap and staying very much alive. However, they aren’t invincible. If they’re left totally unprotected and temperatures hit those double-digit negatives, they might not make it. Even in a sheltered spot, things get dicey once it drops below -5°F (-15°C).
How can you protect garlic chives during the winter?
Garlic chives aren’t just similar to regular chives in name; they’re basically cousins when it comes to care and winter prep. Before the first hard frost hits, you’ll want to give them a good trim. It’s a waste to let those last delicious stalks die off! By freezing them, you can keep using them all winter long, though keep in mind they do lose a little bit of that punchy flavor.
Since we never know exactly how deep the mercury will drop, it’s better to be safe than sorry. Give your garlic chives a cozy “blanket” by covering them with a protective layer of:
- Mulch
- Evergreen brush
- Dried leaves
- Garden fleece
Potted plants need a little extra love
If you’ve planted your chives in pots, they’re much more vulnerable to the cold because their roots aren’t insulated deep in the ground. You definitely don’t want to skip the winter prep here. Along with pruning them back and adding a layer of mulch on top, wrap the entire pot in garden fleece or an old burlap sack to keep the roots from freezing solid.
When will garlic chives start growing again?
You can usually expect to see those first harvestable shoots popping up as early as March. Just a pro tip: don’t take too much at once right at the start so the plant can keep its momentum. When you’re harvesting, leave at least 2 inches (5 cm) of the leaves standing so you don’t accidentally nick the new growth tips.