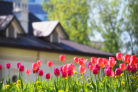
Not everyone is lucky enough to have a sprawling backyard, and for many of us, our “private oasis” is limited to just a few square feet. But hey, that’s no reason to miss out! The key is making the most of the space you have. Luckily, plenty of spring bloomers do perfectly well in window boxes and balcony planters. There’s nothing quite like soaking up those first warm rays of sunshine surrounded by a pop of color.
A Huge Variety to Choose From
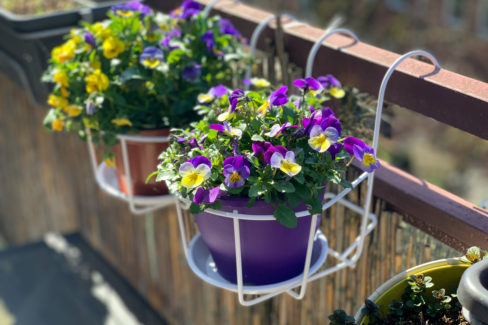
Spring flowers are the perfect way to bring some life back to your balcony after a long winter. Whether you want a wild mix of colors or a specific color palette that matches your indoor decor, you’ve got options. Here are a few favorites that gardeners absolutely love:
- Pansies
- Primroses
- English Daisies
- Violas
Getting Your Gear Ready
Before you get your hands dirty, you’ll need a few essentials to get your balcony garden started. Besides the planters and the plants themselves, make sure you have sturdy brackets to secure your boxes to the railing. You’ll also need potting soil—the specific type depends on what you’re planting, so check the labels! Don’t forget to grab some expanded clay pebbles (LECA) to create a drainage layer. Spring bloomers are notorious for hating “wet feet” (standing water). Round out your kit with the right fertilizer, a watering can, and some waterproof gardening gloves, and you’re ready to roll.
Step-by-Step Planting
When you’re shopping for planters, make sure they have good drainage holes so excess water can escape. Start by filling the bottom of the box with a drainage layer—expanded clay works great, but gravel or old broken terracotta shards do the trick too. When it comes to potting soil, don’t cheap out! High-quality soil gives your flowers the nutrients they need to bloom bigger and last longer. Pro tip: soak the root balls of your new plants in water before putting them in the soil so they’re fully hydrated. Once they’re positioned, fill in the gaps with the rest of your soil, give them a light pat down, and you’re all set!