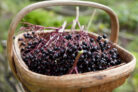
If you’ve just finished a big harvest but aren’t quite ready to start canning, don’t worry—you can totally freeze your elderberries! However, to keep that great flavor and texture, there are a few tricks to doing it right. From the prep work to picking the right container, I’ve got you covered. Here’s everything you need to know.
Prepping Your Berries the Right Way
If you’re planning on turning those frozen berries into jam or homemade syrup later on, you’ll want to make sure they’re prepped perfectly before they hit the ice. Here’s my step-by-step routine:
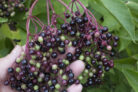
- Give the berry clusters a good rinse under cool, running water right after harvesting.
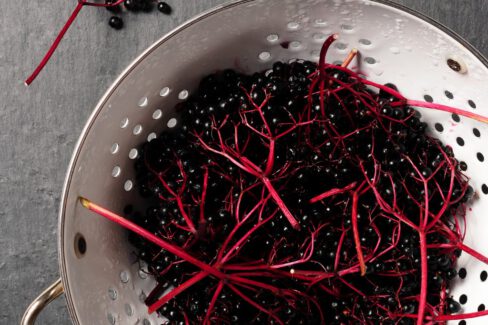
- Use a fork to gently strip the berries off the stems—it’s a total lifesaver for your fingers!
- Sort through them and toss out any green, unripe, or mushy berries.
- Toss the berries in a bowl with a bit of sugar.
Adding that touch of sugar helps preserve the quality, keeping your berries fresh in the freezer for up to twelve months.
Choosing the Right Packaging
To keep freezer burn at bay, you’ll need an airtight container. Sturdy freezer-safe bins work great, but heavy-duty freezer bags are a space-saving favorite. If you’re using bags, I highly recommend using a vacuum sealer. Don’t have one? No problem! Use the “water displacement method”: submerge the open bag in a bowl of water (keeping the opening above the surface) to let the water pressure push the air out, then seal it tight before pulling it out.
How to Freeze Elderberries Like a Pro
Ready to freeze? Follow these simple steps:
- Stack your containers neatly or lay your freezer bags flat so they freeze evenly.
- If your freezer has a “flash freeze” or “super chill” setting, turn it on! The faster they freeze, the better.
- Aim for a steady storage temperature of around 0°F (-17°C).
The quicker those elderberries freeze through, the less likely they are to turn into mush when you’re ready to thaw them out for your next kitchen project.