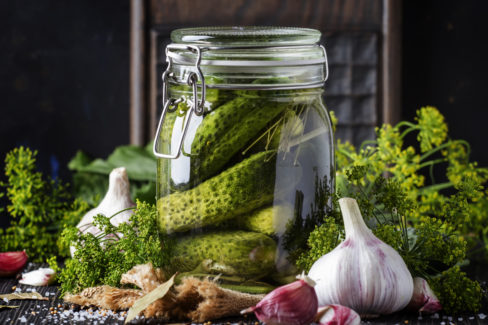
Let’s be honest: garlic is the absolute MVP of the kitchen. It’s super easy to grow, and it adds that perfect punch of flavor to just about everything—especially pickles! If you’re tired of store-bought jars and want to try your hand at DIY garlic pickles, you’re in the right place. Trust me, once you taste the difference, there’s no going back.
Here’s what you’ll need:
- 1 lb (500 g) cucumbers
- 1 tsp salt
- 1 ½ cups (350 ml) apple cider vinegar
- ¾ cup (175 g) sugar
- 10 garlic cloves
- A few sprigs of fresh dill (to taste)
How to make your Garlic Pickles:
- First things first: get those jars clean! Wash them thoroughly with hot, soapy water, rinse well, and then boil them in a large pot for about 10 minutes to sterilize them.
- Give your cucumbers a good rinse and trim off the ends. Slice them in half lengthwise (or into spears).
- Wash the dill and let it air dry on a clean kitchen towel.
- Peel your garlic cloves—don’t be shy with these!
- Layer the cucumbers, garlic, and dill into your jars, alternating as you go to pack them in nicely.
- In a small saucepan, bring ½ cup (125 ml) of water, the vinegar, sugar, and salt to a boil. Pour the hot brine over the cucumbers, making sure they are completely submerged.
- Seal the jars tightly. Process them in a hot water bath at 180°F (80°C) for about 15 minutes.
- Now for the hard part: patience. Let the pickles sit for about 8 weeks so the flavors can really develop.
Pro Tip:
These garlic pickles are the perfect sidekick for a hearty deli sandwich or a rustic charcuterie board.
Getting Creative with Garlic
Garlic isn’t just healthy; it’s a culinary powerhouse. There are so many ways to use it beyond just roasting, preserving, or making these garlic pickles. It’s also amazing fresh—try it minced into herb butter or rubbed onto toasted sourdough. Honestly, growing your own garlic is so worth it. It’s incredibly low-maintenance, and you’ll usually end up with a massive harvest to keep your pantry stocked all year long!