Garlic is one of those classic kitchen staples that we all love, not just for the amazing flavor it adds to our meals, but for its awesome health benefits too. The best part? Growing it in your own backyard is a total breeze! There’s nothing quite like the satisfaction of a homegrown harvest. Follow these simple tips, and you’ll be a garlic-growing pro in no time.
Finding the Perfect Spot
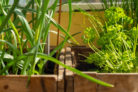
Before you start digging, you’ll want to make sure you’ve picked the right home for your garlic.
- The soil needs to be loose, well-draining, and rich in organic matter (humus).
- Make sure the area doesn’t get waterlogged—garlic hates “wet feet!”
- Choose a sunny spot that’s protected from harsh winds.
- Think about companion planting: Garlic loves hanging out with strawberries, carrots, lettuce, or even roses.
- Avoid planting it near cabbage or beans; they don’t make the best neighbors.
- Keep crop rotation in mind to keep your soil healthy.
When to Plant
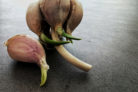
Garlic is grown as an annual and can be planted either in the early spring (late February) or in the fall (September to October). If you missed the planting window, don’t worry! You can give your cloves a head start by letting them sprout on a damp paper towel before tucking them into the dirt. They’ll take off much faster that way.
Spacing it Out
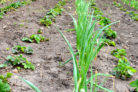
Give your garlic some breathing room so it has plenty of space to bulb up.
- Space individual cloves about 4 inches (10 cm) apart.
- Keep your rows about 8 to 16 inches (20 to 40 cm) apart.
Prepping the Bed
Before you set your cloves in the ground, you’ll want to loosen up the soil. Dig down about one or two spade-lengths deep, and make sure to clear out any stones or stubborn weeds (roots and all!).
It’s a great idea to mix in some compost at this stage. Once you’re done, just rake the surface smooth.
Step-by-Step Guide
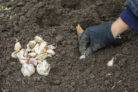
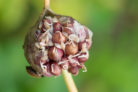
You can grow garlic using either “bulbils” (the tiny aerial bulbs) or individual cloves. Bulbils form at the top of the garlic stalk, and you can pick them off one by one. If you’re growing from cloves, just break apart a regular garlic bulb. Pro tip: Make sure you’re using garlic varieties that are suited for your local climate!
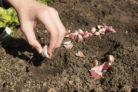
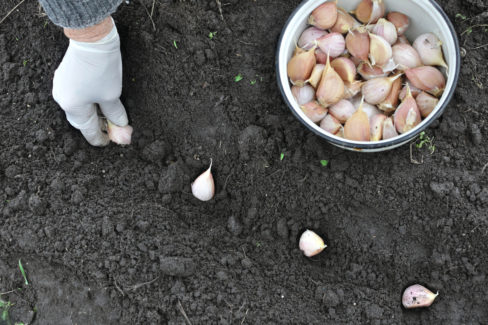
1. First, separate the bulb into individual cloves.
2. Push the cloves about 2 inches (5 cm) deep into your prepped soil, making sure the pointy end is facing up. If you’re using bulbils, plant them about 1 inch (2-3 cm) deep.
3. Cover them back up with soil.
4. Give them a good drink using a watering can with a rose attachment for a gentle spray.
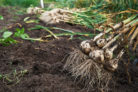
Knowing When to Harvest
Don’t miss the big moment! You’ll know it’s time to harvest when about two-thirds of the leaves have turned from green to yellow. This usually happens between late July and early August. Gently pull the bulbs out of the ground by the foliage. If the soil is a bit stubborn, you can carefully loosen it with a garden fork. Shake off the excess dirt and hang them in a warm, sunny spot to dry out. Of course, you can also enjoy your garlic fresh or preserve it for later!