If you’ve already got a beautiful grapevine growing in your yard and want to add a few more to your collection, why not try propagating them yourself? It’s a fun DIY project, and honestly, your chances of success are pretty high.
There are a few different ways to get the job done, and they all work well depending on how much effort you want to put in.
The Different Propagation Methods
When it comes to growing new grapevines from your existing ones, you’ve basically got three main options:
- Propagation via cuttings
- Propagation via layering (ground layering)
- Growing them from grape seeds
Propagating Grapevines from Cuttings
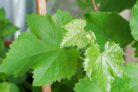
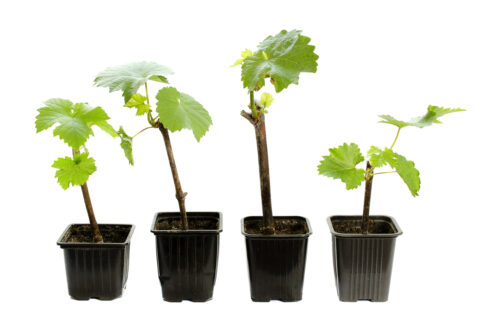
Using cuttings—or slips—is probably the most popular method among home gardeners. Start by picking out a few healthy, young shoots that have about three or four buds on them. You’ll want to make a slightly angled cut just below a node. Stick your cuttings into starter pots filled with a good seed-starting mix and keep the soil consistently moist. They’ll be happiest in a warm spot with partial shade.
After a few weeks, you should start seeing the first little shoots and roots appearing. Once your “baby” vines have reached a decent size, you can move them into their own pot or plant them directly into your garden.
Propagating Grapevines by Layering
If you’re looking for the easiest route, layering is the way to go. Find a long, flexible shoot on your vine and bend it down to the ground. Dig a small, shallow trench where the vine touches the soil, nick the underside of the vine slightly to encourage root growth, and cover that section with dirt. Make sure the tip of the shoot is still poking out of the ground.
Once the buried section has developed its own strong root system, you can simply snip it away from the mother plant and move it to its new home.
Growing Grapevines from Seeds
Another way to go about it is by sowing grape seeds. For this method, collect as many seeds as you can and let them soak in a bowl of water for a few hours to plump up.
To get them to actually sprout, you’ll need to “stratify” them (which is just a fancy way of mimicking winter). Put the seeds in a plastic bag with some damp sand and toss them in the crisper drawer of your fridge. After about eight to ten weeks, they’ll be ready to germinate. Plant them in a starter pot with some potting soil and keep them in a warm spot (around 70°F). Keep the soil moist, and in a few weeks, you’ll see those first tiny leaves popping up!