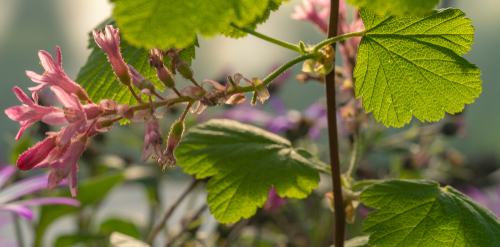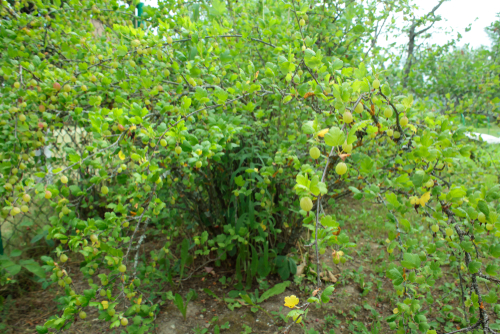
If you’ve ever tasted a sun-ripened gooseberry straight from the garden, you know exactly why they’re such a treat. Once you get a taste for them, the next logical question is: how can I get more of these bushes without breaking the bank? The good news is that gooseberries are actually super easy to propagate yourself.
Propagating Gooseberries
There are two tried-and-true methods for growing new gooseberry plants:
- Using cuttings
- Layering
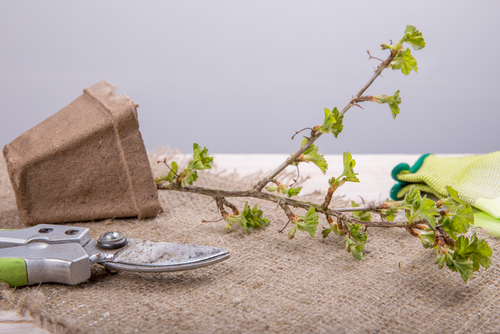
Propagating Gooseberries from Cuttings
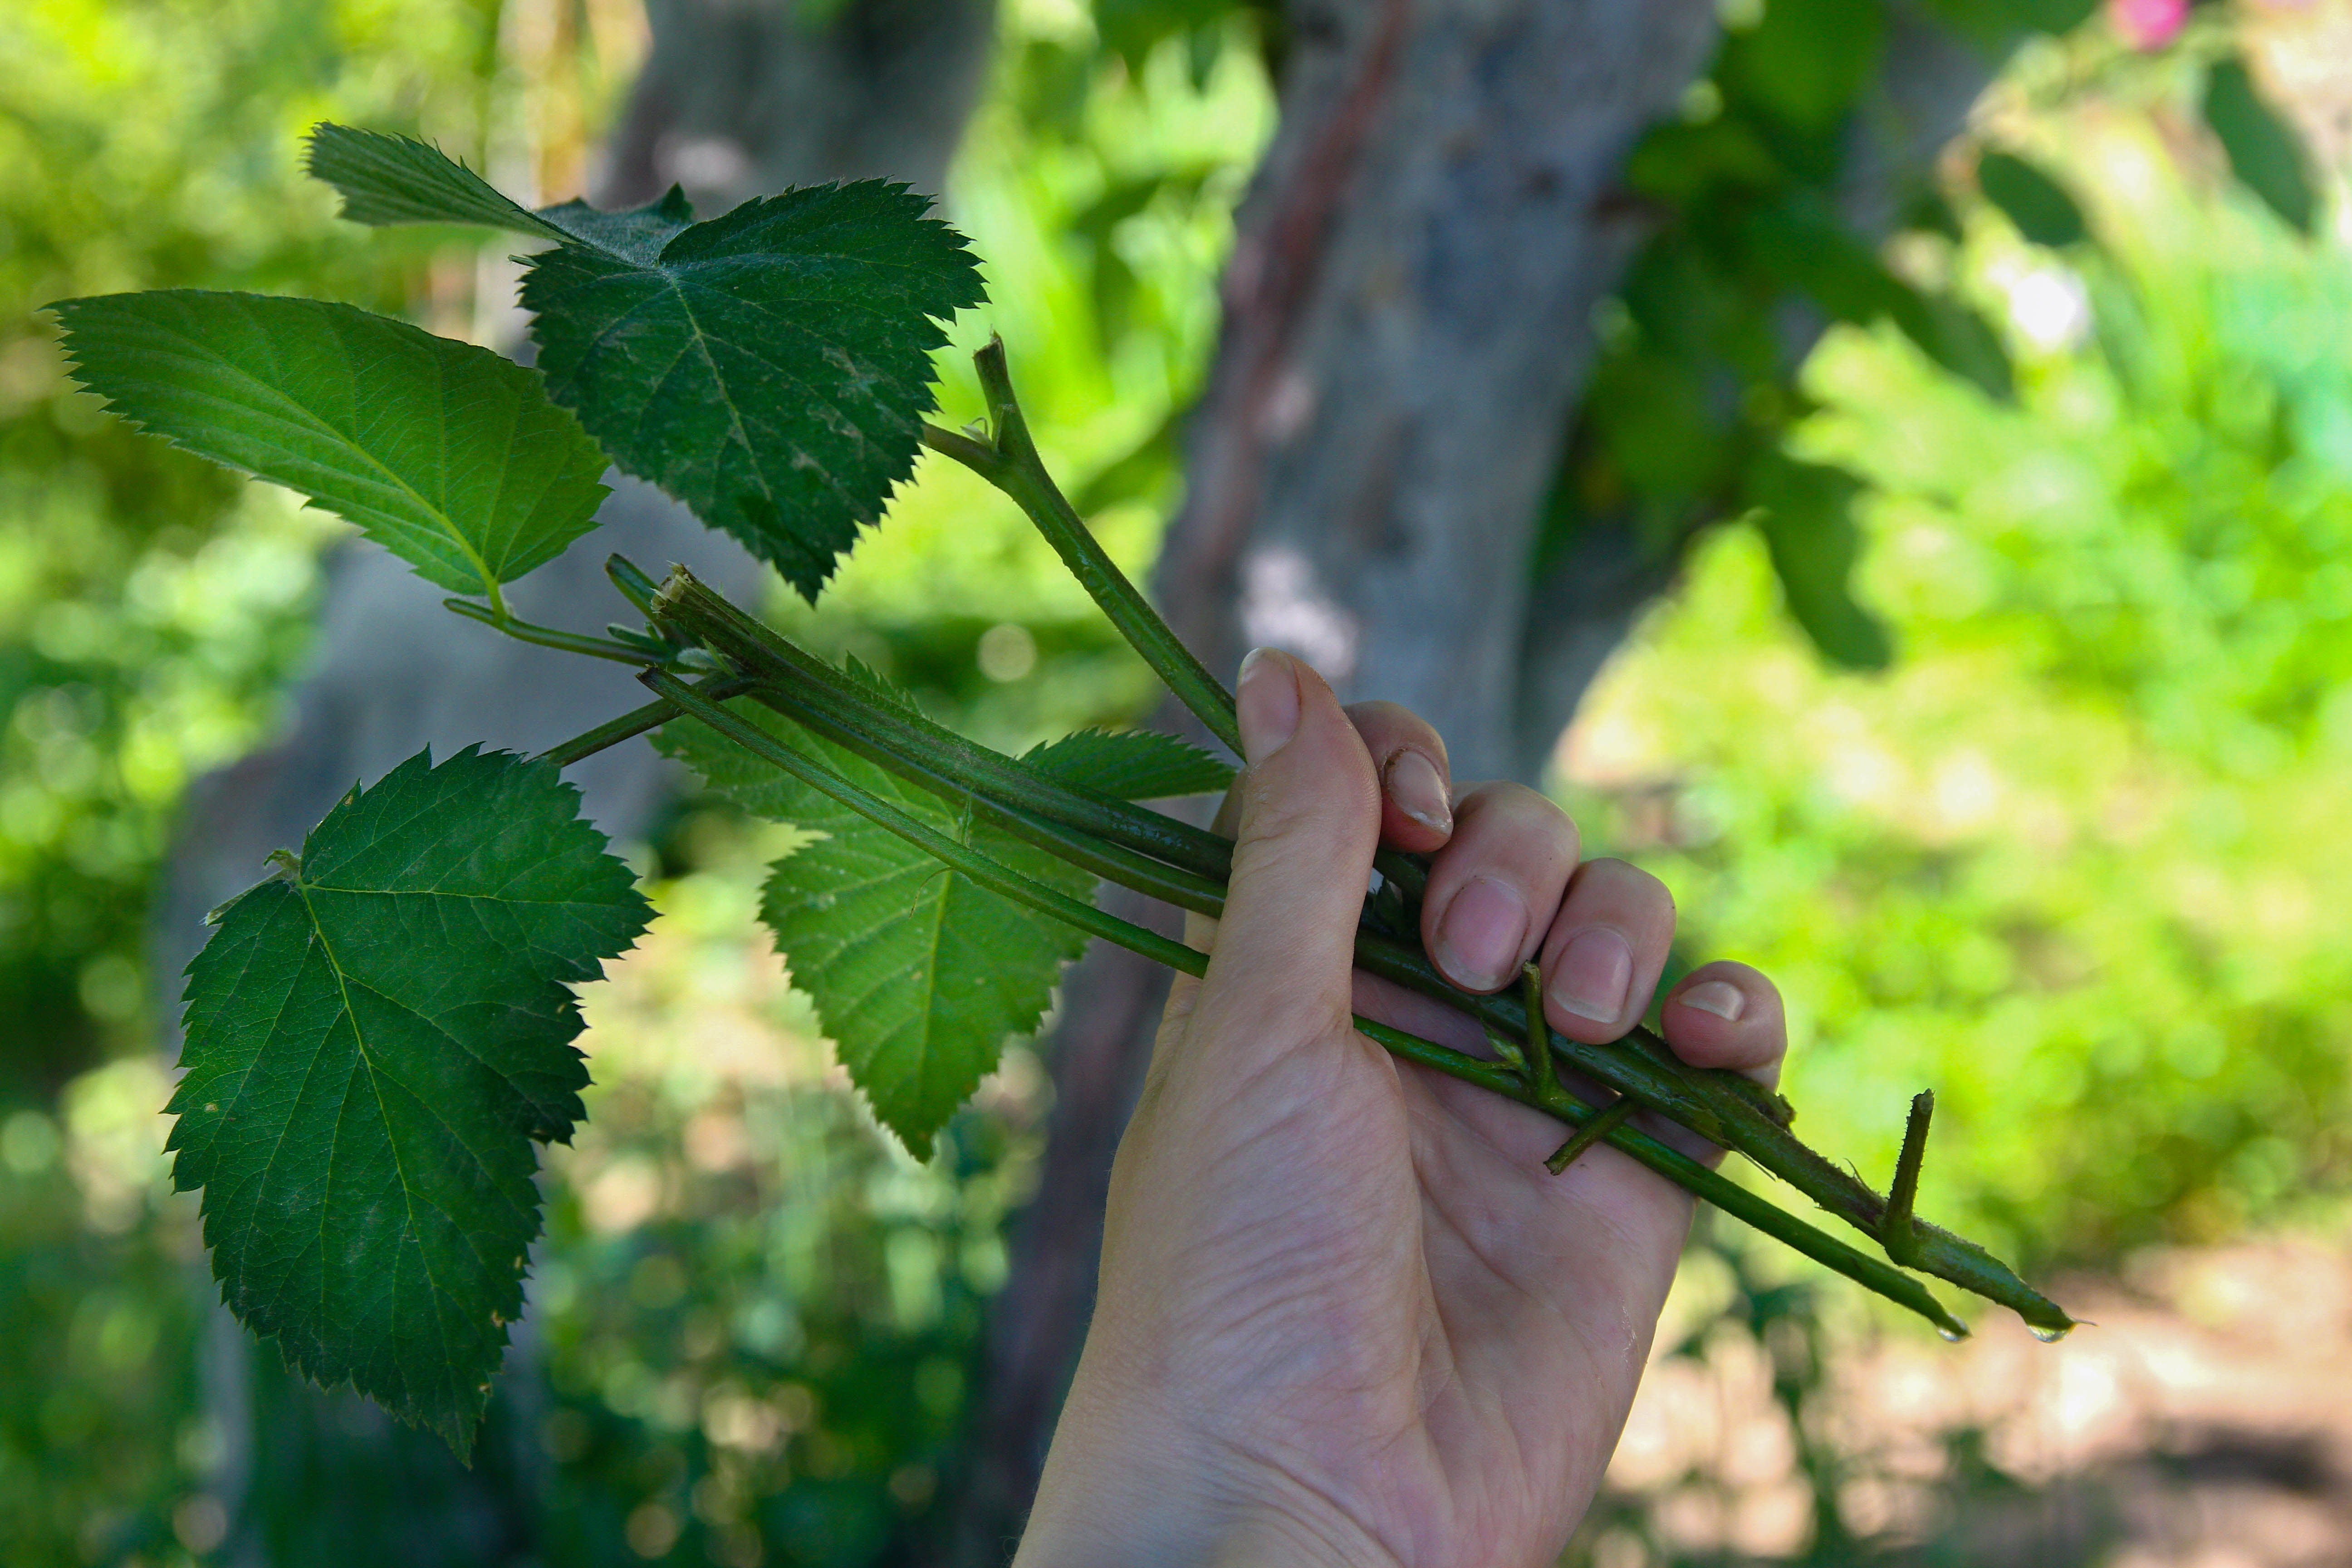
To keep your gooseberry bushes healthy and productive, you need to prune them back every year; otherwise, they can get a bit woody and tired. The best part? You can use those trimmings to start new plants! Look for a healthy, vigorous shoot that’s about 10 to 12 inches long.
Using a sharp, sterilized knife, make a clean cut about a quarter-inch below a bud. Grab a seedling tray or pot and fill it with a lean potting mix. You want the soil to be nice and loose, so feel free to mix in a little sand for drainage. Strip the leaves off the bottom half of the cutting, and trim the remaining leaves on the top half in half (this helps the plant focus on roots rather than foliage).
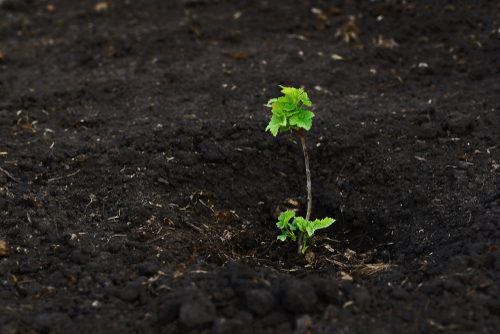
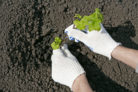
Stick the cutting into the soil so that about four “eyes” (buds) remain above the surface. Give it a good watering and place the pot in a spot with partial shade, like a bright windowsill. Keep the soil consistently moist over the next few days, and it should start rooting before you know it. By next fall, you’ll have a sturdy young plant ready to go into the ground.
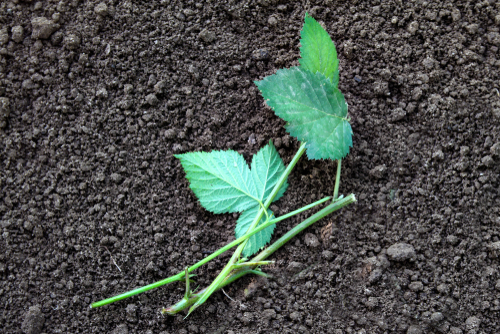
Propagating Gooseberries by Layering
This method is perfect for the summer months and is arguably the easiest way to get “baby” gooseberry bushes. For this, we’re looking at the flexible, one-year-old shoots on the outer edge of the bush. Find a strong, healthy branch and gently pull it down until it touches the ground.
Here’s the step-by-step:
- Strip the leaves off the part of the branch that will be touching the soil.
- Use a knife to very lightly nick or scratch the bark (this encourages root growth).
- Dig a small trench, pin the branch down into it, and cover it with soil.
- Use a few stones to weigh it down so it stays put.
- Make sure the tip of the shoot is still poking out of the ground.
The best part about layering is that the “baby” plant stays attached to the mother plant, drawing nutrients while it develops its own root system. Keep the soil moist, and by next spring, you’ll have a brand-new plant with its own roots ready to be snipped away and moved to its permanent home.