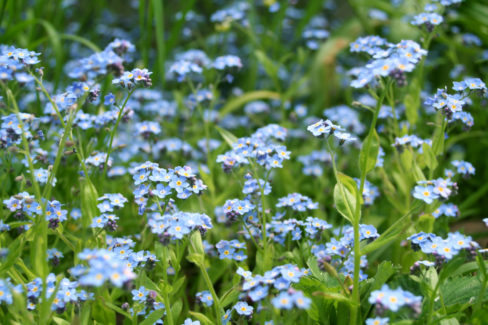
Forget-me-nots are like a breath of fresh air in the spring garden, coating everything in that iconic, dreamy blue. While you can always grab a few flats at your local garden center, it’s actually super easy (and rewarding!) to propagate them yourself. Whether you’re a “set it and forget it” gardener or someone who likes to get their hands dirty, there’s a method for you.
How to Propagate Forget-Me-Nots
If you want to expand your patch of these spring beauties, you’ve got a few great options:
- Self-seeding (the “lazy gardener” way)
- Controlled sowing from seed
- Division
- Root cuttings
Self-Seeding and Controlled Sowing
If you’re looking for a low-maintenance vibe, forget-me-nots are your best friend. These little guys aren’t picky at all. If you leave the spent flowers alone after they bloom instead of deadheading them, the plant will do all the work for you. The seeds ripen and hitch a ride on the wind or on passing pets, eventually turning your garden bed into a stunning “sea of blue” every spring.
Now, if you’re a bit more of a control freak (don’t worry, I am too!) and want them in specific spots or containers, you can take charge of the sowing. You can buy seeds or collect them from your own plants once they’ve finished blooming in mid-July. You can sow them directly in the ground or start them in pots.
Just a pro tip: Forget-me-nots are “light germinators,” meaning they need light to wake up. Scatter the seeds on the soil and barely cover them—or don’t cover them at all. Keep the soil moist, and you should see sprouts in about two weeks. Once they’re big enough to handle, you can thin them out and move them to their forever homes.
Division
Once your forget-me-nots have finished their spring show, you can take your strongest plants and divide them. Dig up the clump generously and use a spade to split it into sections. Just make sure every piece has a good set of roots and some “eyes” (growth points). Pop them back in the ground, give them a good drink of water, and they’re good to go!
Propagation via Cuttings
In the spring, you can also take cuttings. Snip off some young shoots with sharp shears and place them in a glass of rainwater. Here’s a little secret: add a pinch of charcoal powder to the water to keep it fresh and prevent the stems from rotting. Once you see a healthy root system developing, they’re ready for the garden. Since these youngsters are still getting established, give them a cozy layer of winter protection like dry leaves or evergreen boughs come late fall. If you have a greenhouse or a frost-free spot, keeping them in pots over their first winter is an even safer bet!