When it comes to kale, freshness is the name of the game. The sooner you eat it after picking, the more of those amazing nutrients you’re actually getting. But let’s be real—kale plants are prolific, and sometimes you end up with way more than you can fit in one meal! If you’re wondering how to keep your harvest fresh, I’ve got you covered.
How to Store Your Kale
- In the refrigerator
- In the freezer
If you’re planning to eat your kale within a few days of harvesting, the fridge is your best friend. Just keep in mind that the longer it sits, the more nutrients it loses. The best spot is the crisper drawer because it handles humidity perfectly. Pro tip: Don’t wash or chop it yet! Just brush off any loose dirt and tuck the whole leaves into the drawer. If you wash and cut it ahead of time, it’ll wilt and spoil much faster.
If you can’t get through your stash in a couple of days, freezing is a fantastic option. The best part? Freezing it right after harvest locks in most of those vitamins. To get it freezer-ready, chop it down so it fits into your freezer bags or containers.
Be sure to pick off any brown spots and double-check for any pests or stray slugs that might be hitching a ride. Give the leaves a quick rinse under running water to get rid of dirt, then pat them dry. You can freeze kale raw, or if you prefer, give it a quick blanch first. It’ll stay good in the freezer for about eight to ten months.
Fresh is Always Best
As I mentioned, nothing beats the taste and health benefits of garden-fresh kale. It’s incredibly versatile! You can:
- Eat it raw
- Boil it
- Steam it
- Sauté it
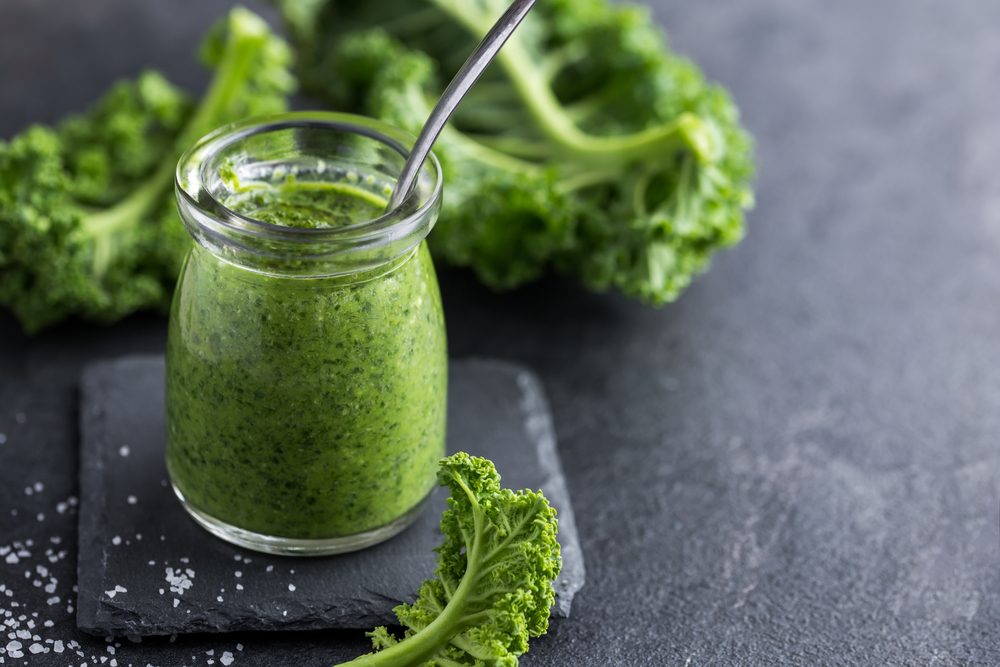
- Blend it
Throwing raw kale into a smoothie makes for a total nutrient powerhouse. And of course, we can’t forget about kale chips—the ultimate healthy snack! Here is my go-to prep routine:
1. Pick off any yellowing leaves or brown spots and check for tiny garden critters.
2. Pull the leaves off the main stalk and tear or chop them to your preferred size.
3. Make sure to cut out those tough, woody stems.
4. Give the leaves a very thorough wash.
5. Now you’re ready to go! Toss it into a soup, serve it as a side dish, or mix it into a hearty stir-fry.