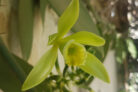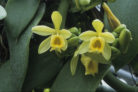
If you’ve got a mature vanilla orchid at home, you’re sitting on a goldmine of greenery just waiting to be turned into new plants! There’s really no need to drop big bucks at the garden center for a new one. You can easily grow your own vanilla orchid from cuttings. Before you know it, you’ll be enjoying those stunning blooms and—if you’re lucky—your very own homegrown vanilla beans. Here is the lowdown on how to get started!
Take Your Cuttings in Early Summer
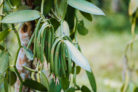
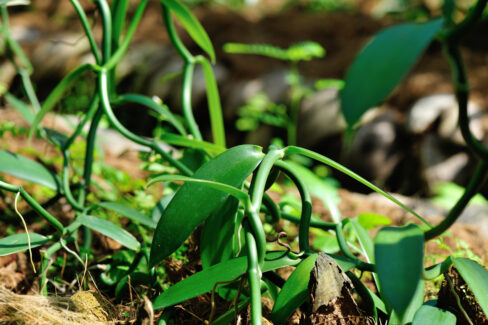
The best time to take cuttings is in the early summer when the plant is full of energy and actively growing. Look for a healthy vine that isn’t currently flowering. You can snip this vine into several sections, just make sure each piece has at least three pairs of leaves. Strip off the bottom leaves to give the new roots a clear spot to sprout. Pro tip: Keep track of which end is “up”! If you plant a cutting upside down, it won’t take root.
By the way, make sure to pop on some gardening gloves before you start pruning. Vanilla orchid sap is mildly toxic and can cause a pretty annoying, itchy rash if it gets on your skin.
Step-by-Step: Planting Your Cuttings
Once you’ve got your cuttings ready, grab some small pots and fill them with a “lean” seed-starting mix. A 50/50 blend of sand and peat moss also works great. Here’s your game plan:
- Moisten the soil using lime-free water (rainwater or filtered water is perfect).
- Poke a small hole in the center of the soil.
- Plant one cutting per pot.
- Make sure no leaves are buried under the soil, as they might rot.
- Add a small stake or trellis and gently tie the cutting to it for support.
- Cover the pot with a clear plastic bag to create a mini tropical greenhouse.
- Place your new plant in a bright spot (indirect light is best) and keep the temperature around 77°F (25°C).