Fresh horseradish definitely packs the biggest punch when it’s straight from the garden, but if you’ve got a bumper crop, drying it is a fantastic way to preserve that spicy goodness for later. The trick here is speed—you’ll want to move quickly once you start so the horseradish doesn’t turn black and unappetizing.
Harvesting in the Fall
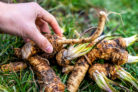
If you’re planning on drying your harvest, wait until autumn to dig up those roots. Gently lift them out of the soil, and try to pick the larger root sections for drying. Trust me, they’re much easier to handle and process later on!
Don’t toss the small bits, though. Replant those smaller root cuttings back into the ground. You should also take the top inch or two of the root (where the leaves start) and tuck it back into the soil. Cover it up, and it’ll reward you by growing into brand-new plants next season.
Prepping Your Horseradish
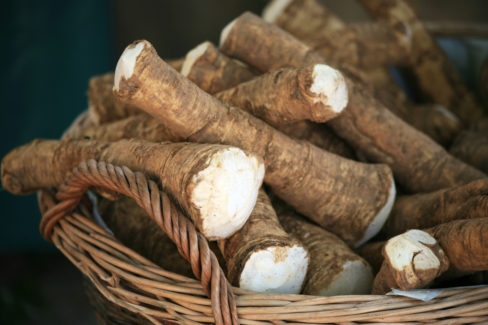
Before you get to the drying part, you’ve got to give the roots a good scrub. Wash off all the dirt—I find using a small hand brush works wonders for getting into all those nooks and crannies.
If you spot any brown spots or bruised areas, just trim those away. Generally, there’s no need to peel the whole root. In fact, it’s better if you don’t! Most of the flavor and healthy compounds are concentrated right near the skin, so keeping it on means a tastier end product.
The Drying Process
This is where those larger root pieces come in handy. For the best flavor, I recommend grating the horseradish by hand. While it’s tempting to use a food processor, the high speed can actually dull the flavor. Stick to a hand grater for that authentic kick.
Spread your grated horseradish in a thin layer on a baking sheet lined with parchment paper. Pop it into the oven at about 120°F (50°C). Pro tip: Prop the oven door open just a crack to let the moisture escape. Give the pieces a toss every now and then to make sure everything dries out evenly and quickly.