The lemon tree (botanical name *Citrus x limon*) isn’t just a treat for the eyes—it also rewards you with delicious, homegrown fruit. But let’s be real: buying a large, established tree can get pretty expensive. That’s why growing your own citrus plants is such a fantastic, budget-friendly alternative.
Propagation
Generally speaking, there are a few different ways to propagate a lemon tree:
- Seeds
- Layering
- Cuttings
Since success isn’t always a guarantee when working with seeds or cuttings, I recommend starting several plants at once. If you end up with a “lemon jungle,” you can simply keep the strongest one and give the others away as gifts. After all, store-bought lemon trees definitely come with a hefty price tag.
Seeds
To grow lemon trees from seeds, all you really need are the pits. However, finding the right ones can be a bit tricky. Most lemons you find at the grocery store contain sterile seeds that won’t germinate. Even if they do sprout, there’s no guarantee the plant will ever bloom or produce fruit. Your best bet is to use seeds from a tree you already know and love.
Another thing to keep in mind: a tree grown from seed can take ten to twelve years to produce fruit—if it fruits at all!
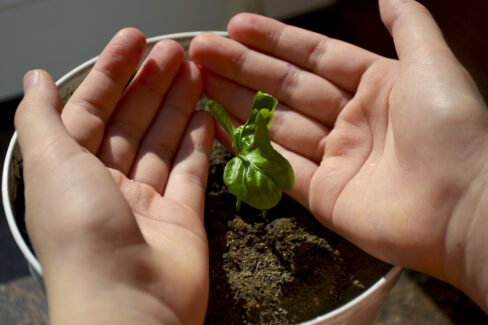
On the plus side, this is a super fun project for kids. They’ll love watching a tiny seed transform into a real plant.
Layering
You might see “layering” mentioned on some gardening sites, but in practice, it’s pretty tough to pull off with a lemon tree. This method involves bending a branch down into a trench in the soil. Since lemon trees have woody branches rather than flexible, herbaceous stems, they don’t bend easily without snapping. It’s usually more trouble than it’s worth.
Cuttings
Since seeds take forever and layering is a headache, I suggest focusing on growing from cuttings. It’s the most reliable way to get results. The best time to do this is between June and September. Here’s the game plan:
- Cut a 4 to 6-inch tip cutting (look for one-year-old growth that isn’t currently flowering or fruiting).
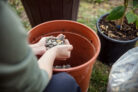
- Fill small plastic pots (about 5 inches) with seed-starting mix.
- Plant one cutting per pot, burying it about two-thirds of its length deep.
- Moisten the soil.
- Cover the pot with a plastic bag or dome to create a mini-greenhouse and place it in a spot with partial shade.
- Air it out daily to prevent mold.
- Keep the soil consistently moist but not soggy.
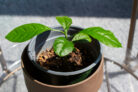
In about six to eight weeks, your cutting should have established roots and be ready to grow!