Nothing screams “Mediterranean vacation” quite like having an olive tree (or three!) in your backyard. Since these beauties aren’t exactly fans of a deep freeze, most of us in the States grow them in pots so we can move them indoors when the weather gets dicey. The trade-off? Potted trees stay a bit smaller, which means you won’t be swimming in a massive harvest—but that’s actually a good thing!
Patience pays off at harvest time
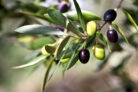
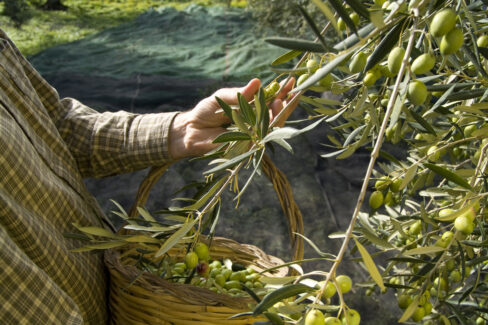
Because you aren’t dealing with a massive grove, you can easily hand-pick your olives one by one. This means you can afford to be patient and let them hang on the branch a little longer. If you wait, those green olives will eventually ripen into beautiful black ones. Not only are they milder, but they also develop a much more complex, rich flavor. In big commercial olive groves, farmers usually shake the trees while the fruit is still green and firm so they don’t bruise when they hit the ground. But since you’re harvesting by hand, you can wait for that peak ripeness!
Prepping your olives
Here’s the thing: you can’t just pop an olive off the tree and eat it. Trust me, you’ll regret it! Raw olives are incredibly bitter and pretty much inedible right off the branch. To make them tasty, you need to leach out those bitter compounds by soaking them in water or a brine solution before preserving them. If you go the salty brine route, just remember to give them a fresh water bath for a few days afterward to wash away the excess salt.
Storage and finishing touches
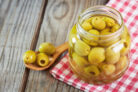
Once your olives are cured and ready, you’ll want to store them so they stay fresh. Pro tip: freezing is definitely not the way to go here—it ruins the texture. Instead, the gold standard is packing them in oil. Here’s how to do it right:
- Use a good quality olive oil or sunflower oil.
- Get creative with flavors! Add some rosemary, thyme, bay leaves, or even a splash of red wine vinegar to the mix.
- Fill your jars all the way to the top, making sure every single olive is completely submerged in oil, then seal them airtight.
- Store your jars in a cool, dark spot. This keeps the oil from going rancid and ensures your olives stay delicious for as long as possible.