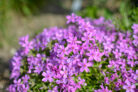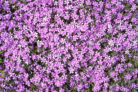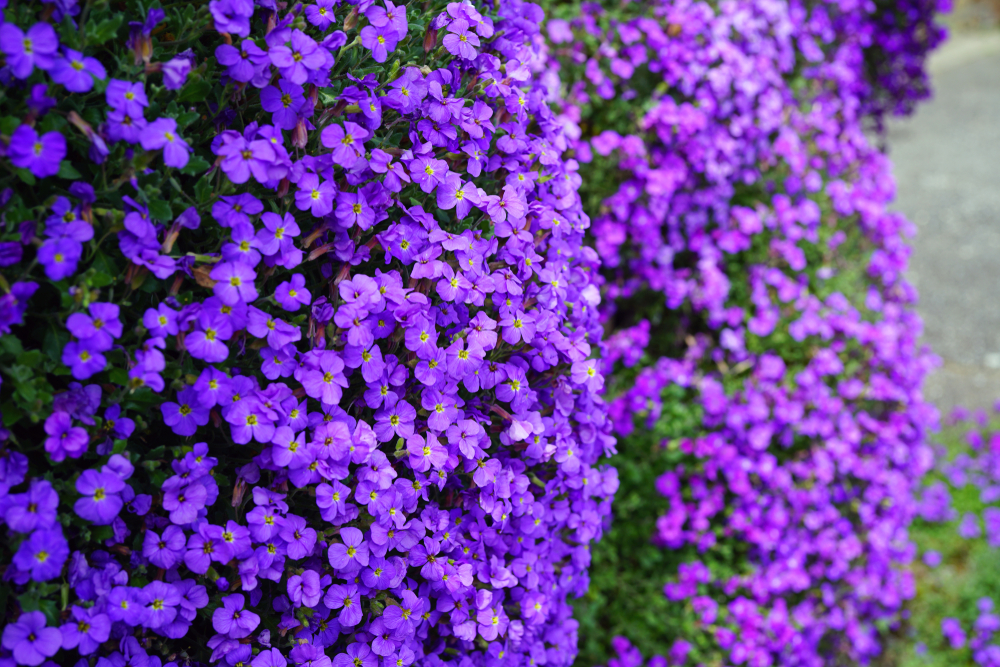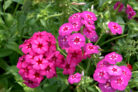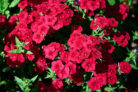
Creeping phlox is a total superstar in the gardening world. Thanks to its early, vibrant blooms, it’s a go-to groundcover for dressing up rock gardens, retaining walls, and flower bed borders. It loves to spread out and create a colorful carpet, and the best part? It’s actually pretty easy to propagate on your own. Here are the most common ways to get more of this beauty in your yard.
Propagating Creeping Phlox from Seed
Most of the time, you’ll find creeping phlox sold as young plants in nursery containers. These are super convenient because you can plant them anytime from spring through fall. However, if you have a little patience and a green thumb, you can grow them from seed. Just keep a few things in mind:
- Creeping phlox seeds are “cold germinators.” This means they need a period of cold to wake up, so you should get them in the ground outside before the first winter frost hits.
- If you decide to start them indoors (at about 60-65°F), be careful—those indoor seedlings can be surprisingly sensitive to frost once they move outside.
- Watch those roots! The tiny root systems on young seedlings are incredibly fragile and can break easily during transplanting.
Just a heads-up: Growing phlox from seed is a bit of a slow burn. If you’re looking for faster results, you’re better off with cuttings (more on that below) or simply buying container plants to get your bed started.
Propagating by Dividing Perennials
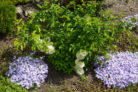
If you have a creeping phlox plant that’s been established for a few years and is looking nice and bushy, you can propagate it by division. In the spring, carefully dig up the plant and use a sharp, sterilized spade to split it into sections. When you’re dividing, make sure each new clump is large enough to survive on its own—don’t go too small!
Since the plant is already going through a bit of “transplant stress,” this is actually a great time to trim back any long, leggy shoots. Doing it all at once saves the plant from having to recover from a second round of pruning later in the season.
Propagating Creeping Phlox from Cuttings
Between May and July is the sweet spot for the third method: taking cuttings. For this, you’ll want to snip off about 2-inch “tip cuttings” from the ends of the shoots. Strip off the leaves from the bottom half of the stem.
Next, tuck the cuttings into some loose, well-draining potting mix and place them in a mostly shady spot in your garden. Keep the soil consistently moist, and within a few weeks, they should start developing roots. Once they’ve established a sturdy little root system, they’re ready to be moved to their permanent home!