If you’ve got a little extra space in your backyard, you really should consider planting an apple tree. If you know someone who’s growing a variety that tastes amazing, why not ask them for a cutting (a “scion”)? You can graft it onto a suitable rootstock—maybe even a tree you’ve started yourself from a seed!
Grafting: The Secret to Cloning Your Favorite Fruit
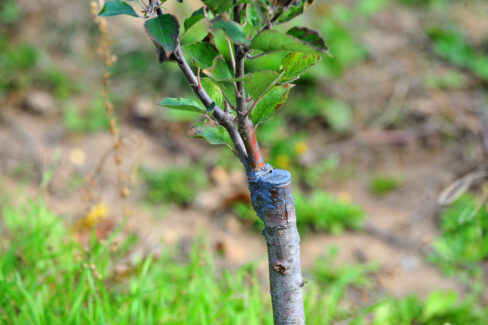
If you’re planning to grow your own apple tree, the first thing you’ll need is a healthy dose of patience, because it’s a project that takes a few years to really take off. This is true whether you’re starting from seed or using grafting. Most fruit trees aren’t grown from seeds if you want a specific variety; instead, they are propagated “asexually” through grafting. Common methods include grafting (cleft or whip-and-tongue), budding, or copulation.
Why the Rootstock Matters
Always pay close attention to your rootstock. This is the foundation of your tree and it’s what determines the final height and size of your apple tree. Not every tree shape works for every yard—for example, standard full-sized trees need a ton of room to spread their wings later on.
T-Budding (Okulation)
Budding (or “Okulation”) is a type of summer grafting. It’s perfect for creating new young plants or even adding a second variety to an older tree you already have. The great thing about summer grafting is that you can cut your scions and use them immediately—no need to worry about storing them over the winter. Just make sure your “mother plant” is healthy and produces great fruit. And remember: always use a razor-sharp budding knife!
Step-by-Step Guide to T-Budding
- Pick out some strong, healthy shoots. Cut them, wrap them in a damp cloth, and get to work right away.
- Strip the leaves off the cutting, leaving only the little leaf stem (petiole) behind. You’ll need to cut out a “bud” along with a small sliver of bark.
- Carefully peel the bud, the leaf stem, and the bark sliver away from the wood using your knife.
- Next, make a T-shaped incision in the bark of your rootstock (where the sap is flowing).
- Gently peel back the flaps of the bark.
- Slide the bud behind the bark flaps, holding it only by the bark tongue.
- Make sure the bud is sitting deep and snug before you trim off any excess bark tongue.
- Press the bark flaps back down and wrap the whole thing tightly with raffia or grafting tape. Just make sure the bud itself stays uncovered so it can breathe!