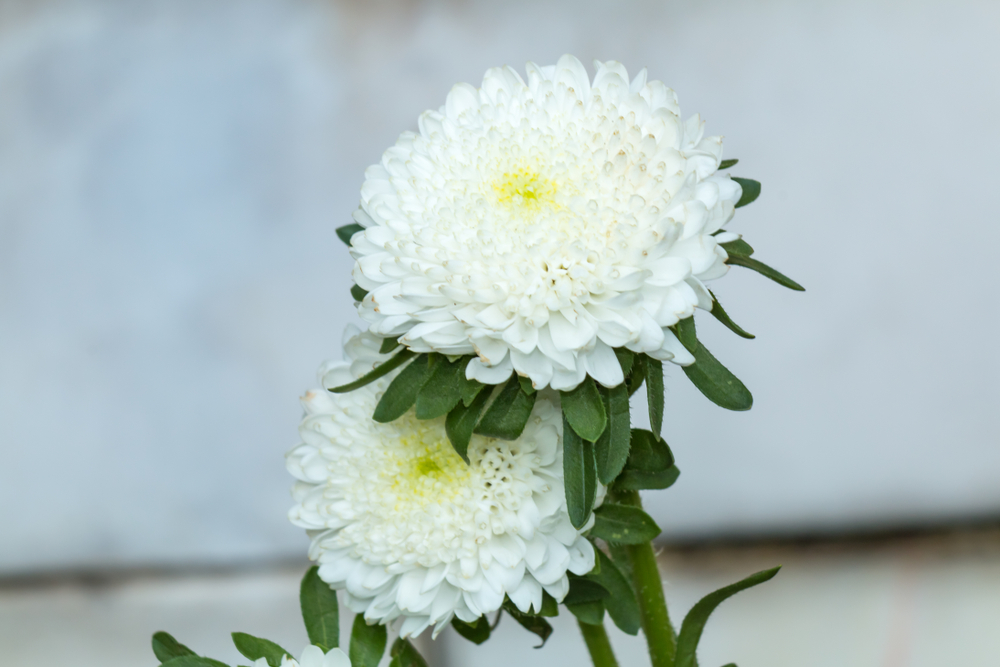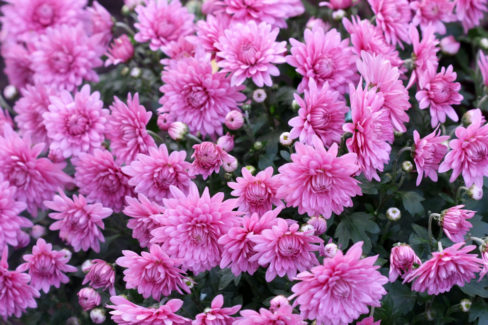
Chrysanthemums are the absolute stars of the fall garden. Around this time of year, you’ll see them everywhere—from local nurseries to grocery store displays. While it’s tempting to just load up your cart with new ones, a true green thumb knows the real fun is in propagating the plants you already have. Luckily, there are a few easy ways to get more “mums” for your money!
Ways to Propagate Your Chrysanthemums
These beautiful, reliable fall bloomers can be multiplied in three main ways:
- Dividing the mother plant
- Taking stem cuttings
- Growing from seed
Growing Chrysanthemums from Seed
You can pick up chrysanthemum seeds at your local garden center or even harvest them from your own plants. Starting in February, you can get a head start by sowing seeds in pots filled with seed-starting mix on a sunny windowsill. If you prefer direct sowing, wait until April to plant them outdoors. Just a heads-up: Chrysanthemums are “cold germinators,” meaning they need a little chill to wake up. To mimic winter, try stratifying your seeds by popping them in the fridge for a few days before planting.
Dividing Your Mums
If you have older, established chrysanthemum bushes, division is the way to go. The best time for this is in the spring. Once the threat of night frost has passed, carefully lift the mother plant out of the ground with a garden fork. Use a sharp spade to split the root ball into sections (if the roots are really tough, a small hatchet works wonders!). Replant the sections immediately in their new spots and give them a good drink of water.
Propagating with Cuttings
Once your mother plant is showing strong new growth in May, you can start taking stem cuttings. Look for healthy shoots about 4 to 6 inches long that don’t have any buds yet. Here’s how to do it:
- Cut the stem at an angle to help it soak up more water.
- Strip off all the leaves except for the top two.
- Dip the cut end into some rooting hormone to give it a boost.
- Prep small pots with fresh seed-starting soil.
- Plant each cutting in its own individual pot.
- Place the pots in a warm, bright spot, but keep them out of direct, scorching sunlight.
- Keep the soil consistently moist.
- To create a mini-greenhouse effect, place a glass jar or a clear plastic bag over the pot.
- Don’t forget to vent your mini-greenhouse regularly to prevent mold from moving in.
In about four weeks, your cuttings should have developed roots. As soon as you see new growth appearing on your young plants, they’re ready to be moved into larger pots or directly into your garden beds. If you’re not a fan of soil, you can also root these cuttings in a glass of water—just make sure to change the water daily. Once a healthy root ball has formed, you can pot them up!