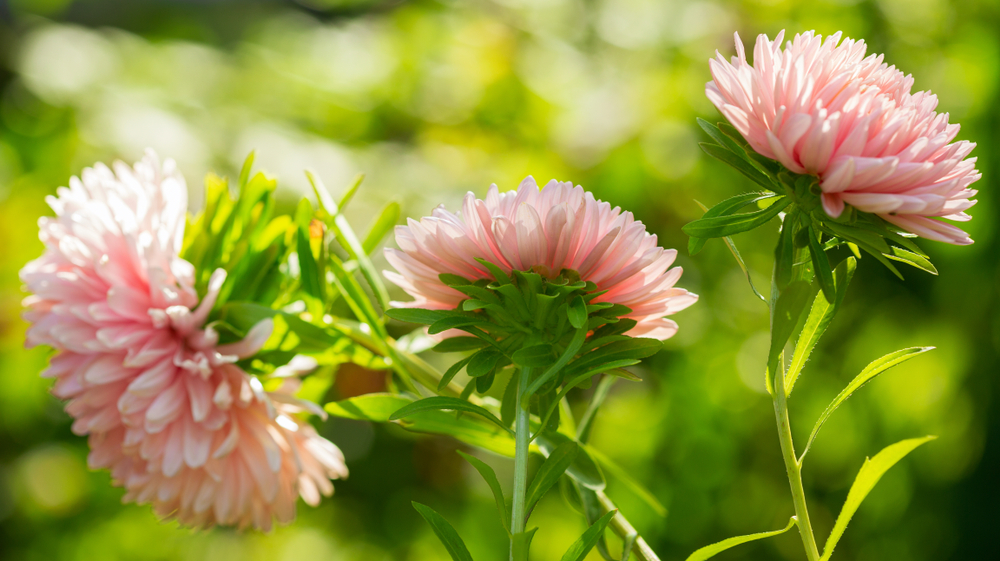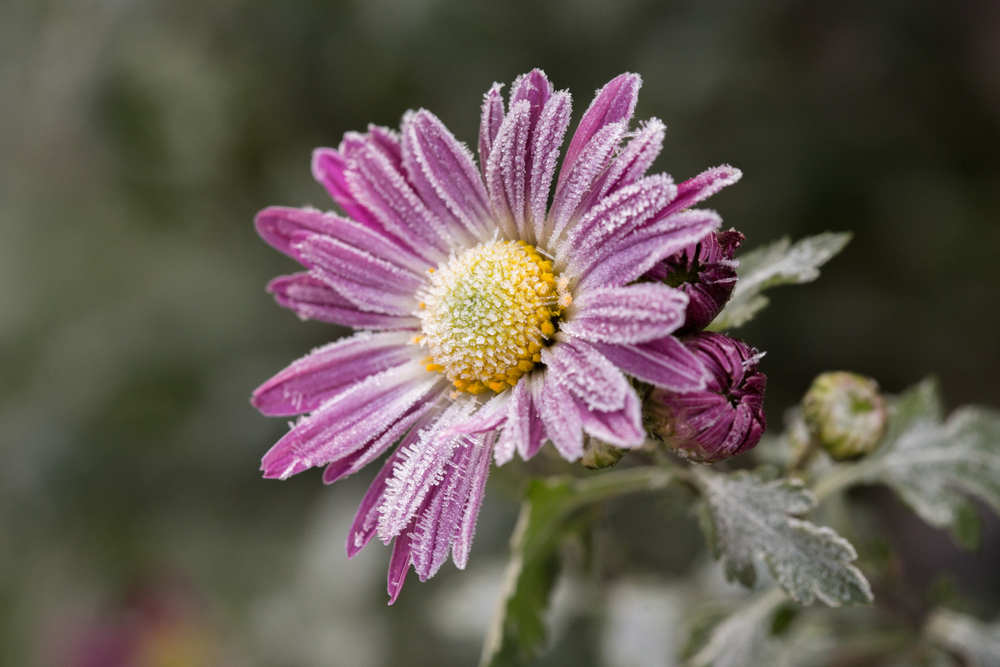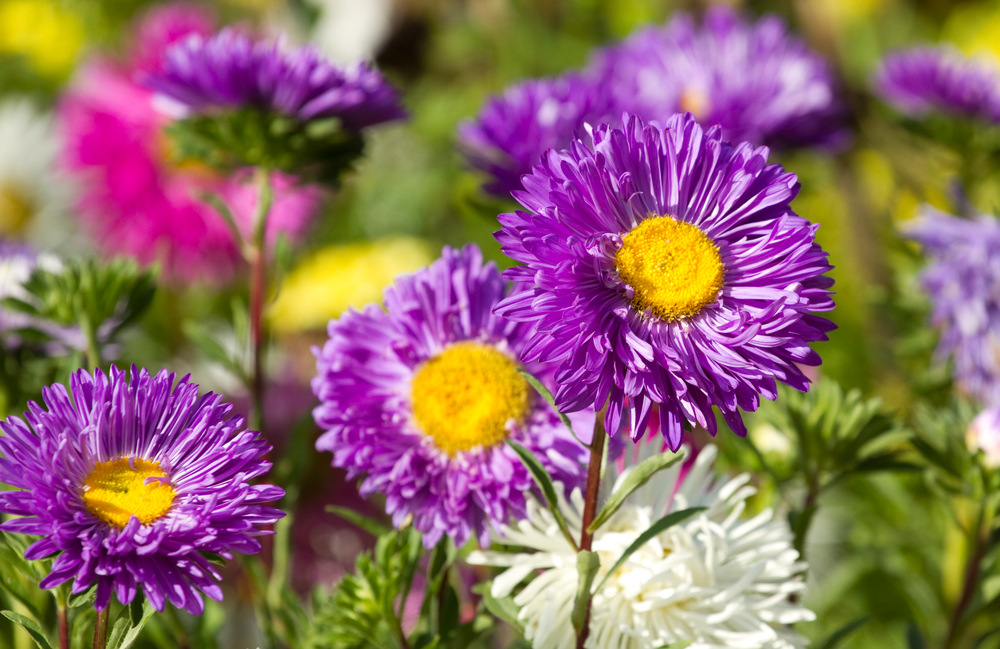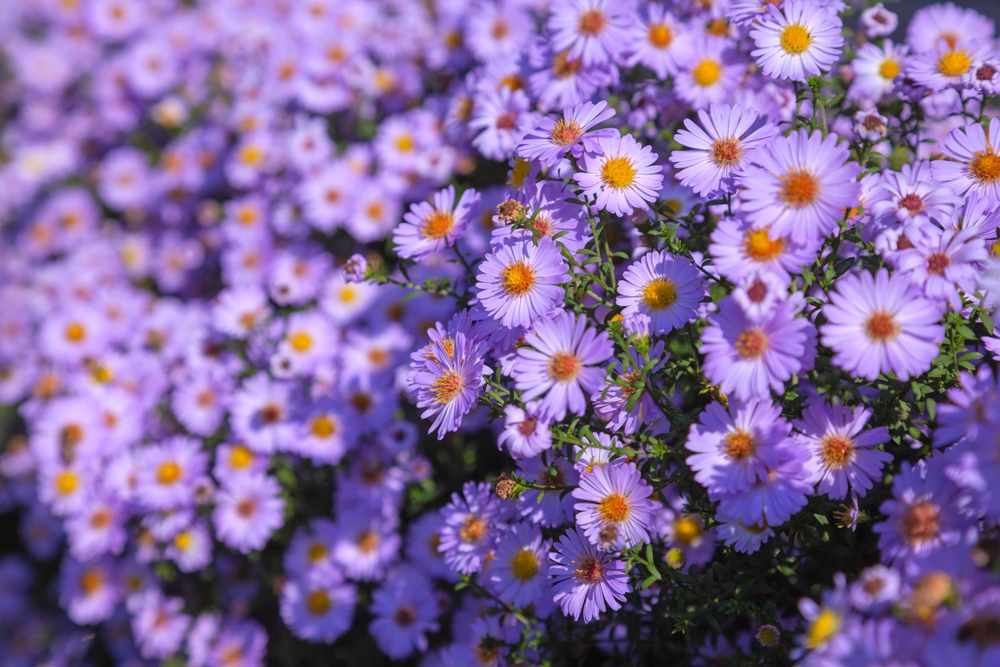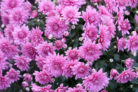
If you’re an aster lover like I am, you probably don’t need much convincing to add more of them to your garden. These hardy beauties are absolute stars—literally! With their star-shaped blooms in every color imaginable, they really make a landscape pop. Plus, fall-blooming asters are a total lifesaver for bees, providing one last vital nectar source before winter sets in.
Ways to Propagate Your Asters
The great news is that you’ve got options when it comes to growing your collection. The most common method is starting them from seed, but you can also divide older plants to give them a second life. If you’re feeling adventurous, you can even try stem cuttings—it’s a bit unusual for asters, but it totally works!
Sowing Aster Seeds
Spring is the time to get moving. You can start seeds in pots on a sunny windowsill in March, or wait until late April to sow them directly into your garden beds.
- Get your seed trays ready with a good starter mix for indoor starts.
- If sowing outside, loosen the soil and mix in a little sand to help with drainage.
- Poke small planting holes about 1/2 inch (1 cm) deep.
- Drop 2 seeds into each hole.
- Keep the soil moist, but be careful not to overwater—nobody likes soggy feet!
You’ll usually see sprouts in about two to four weeks. Once the seedlings are strong enough, you can thin them out or move them to individual pots. By May, your indoor babies will be ready to move out to their permanent home in the garden.
Dividing the Roots
This is a super simple way to get “free” plants while keeping your original ones healthy. The best time to divide asters is late fall once they’ve finished blooming. However, if you miss that window, you can also do it in early spring before new growth starts. Just make sure your “mother plant” is healthy, large enough, and at least two years old. Here’s the game plan:
- Carefully dig up the plant.
- Shake off the loose dirt so you can see the root ball.
- Use a sharp knife or a spade to split the clump into sections.
- Make sure each new section has at least two green stems.
- Trim away any damaged roots.
- Replant your new divisions and give them a good soak.
The Cutting Method
This method is a little unconventional for asters, but late summer is the perfect time to try it. Take a few 4-inch (10 cm) cuttings from a strong, healthy plant. Strip off the lower leaves and tuck the stems into some nutrient-rich potting soil. Water them well and pop a clear plastic bag over the pot. This creates a “mini greenhouse” effect that keeps things humid and encourages roots to grow. Just remember to vent the bag occasionally so things don’t get moldy! Once you see new growth, you’ll know they’ve taken root. Keep these little guys indoors for their first winter, and they’ll be ready to hit the garden soil the following spring.