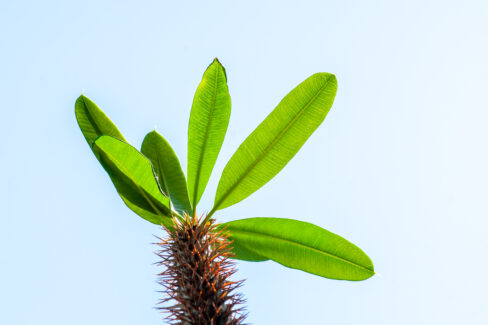
Even though it’s not technically a “true” palm in the botanical sense, the Madagascar Palm is a total showstopper that brings a major tropical vibe to any patio or sunroom. If you’ve fallen in love with yours and want to expand your collection, you’re in luck! Propagating these exotic beauties is actually pretty straightforward.
There are two main ways to get the job done: starting from scratch with seeds or taking cuttings (offsets) from your existing plant. Here’s the lowdown on how to do both.
Buying or Harvesting Seeds
If you want to go the seed route, you can easily pick up a packet at a specialty garden center. But, if you’re feeling adventurous, you can harvest them from your own plant! Just a heads-up: you’ll need to help with pollination to get seeds. A small paintbrush works wonders for transferring pollen between flowers. Once the blooms fade, you can collect the seeds, dry them out, and store them until you’re ready to plant.
Pro Tip: Always wear gloves when handling any part of a Madagascar Palm. Every part of the plant is toxic, so it’s better to be safe than sorry!
How to Sow Your Seeds
Ready to plant? Here’s your step-by-step guide:
- Fill a seed tray with a high-quality cactus or succulent mix.
- Spread your seeds thinly across the surface.
- Don’t cover them! Madagascar Palms are “light germinators,” meaning they need sunshine to wake up.
- Keep the soil consistently moist, but be careful not to let it get soggy or waterlogged.
- Find a cozy, warm spot for your tray—ideally somewhere between 75°F and 85°F (25-30°C).
Using Cuttings (Offsets)
If you’d rather skip the seedling stage, you can propagate using cuttings. The best time to do this is in the spring; this gives the new plant the whole growing season to establish a solid root system before winter hits.
When taking a cutting, always slice just below a “node” (the bump where leaves or spines emerge). Now, here is the most important part: let the cutting dry out. To prevent rot, let the cut end callous over for at least 12 hours. You can also dip the end in some rooting hormone to give it a little boost.
Once it’s dry, tuck the cutting into a pot filled with starter soil. Make sure at least one “eye” or node remains above the soil line. Keep the substrate lightly moist, and before you know it, you’ll have a brand-new addition to your plant family!