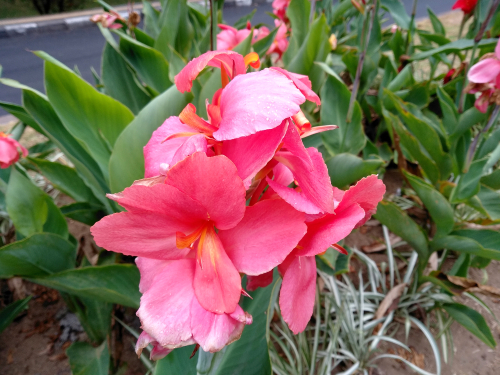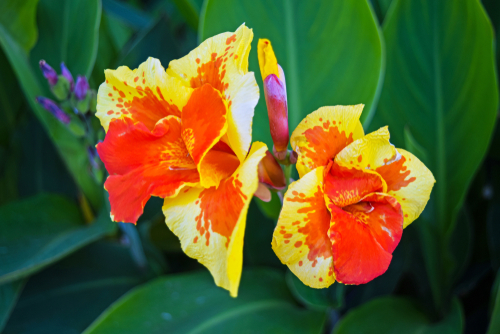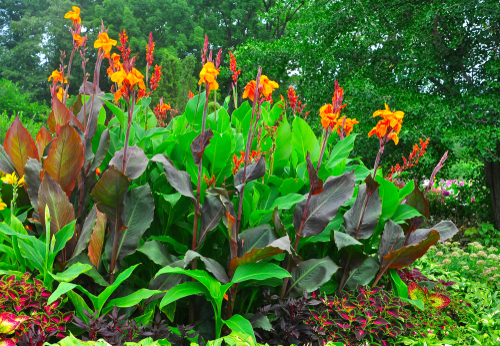
Along with watering and fertilizing, keeping your Canna Lilies looking their best means getting comfortable with your garden shears. If you want those big, tropical blooms to keep coming back year after year, timing and technique are everything.
Cutting Back Stems and Leaves
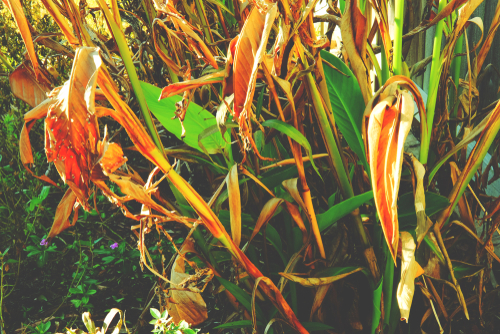
Unless you have a massive indoor space with sky-high ceilings to overwinter your Cannas, you’re going to need to give them a good cut in the fall. The golden rule here? Don’t be too eager! Wait until the leaves have turned yellow or brown and look pretty dried out. Even when they start looking a bit messy in autumn, those green leaves are still busy sending essential nutrients down to the bulbs to fuel next year’s blooming season.
The Best Way to Prune
When it’s finally time to give your Cannas their “winter haircut,” here’s the game plan:
- Trim the leaves and stems back until there’s only about 2 inches (5 cm) left above the ground.
- Toss those old clippings right onto your compost pile.
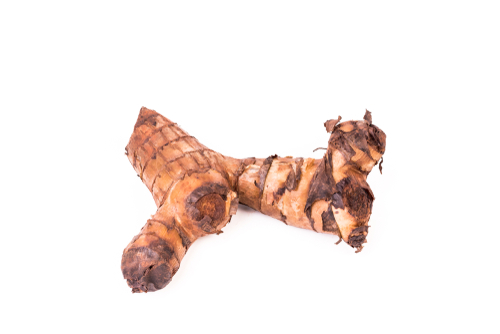
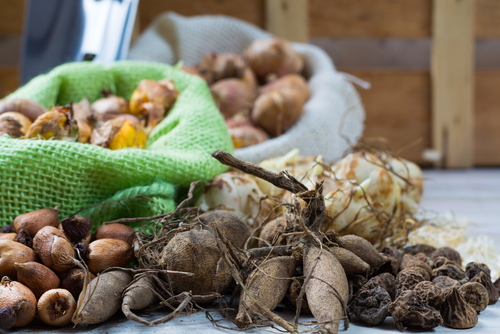
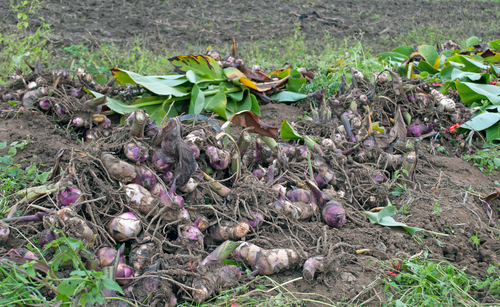
- Carefully dig up the rhizomes from the soil.
Try to get this done in early October before the first overnight frost hits. Pro tip: During the summer, make sure to “deadhead” (pinch off) the spent flowers as soon as they fade. This keeps the plant looking tidy and encourages it to keep pushing out new blossoms.
Dividing the Rhizomes
Pruning isn’t just for cleanup—it’s also the best way to propagate your collection. You can use a sharp spade to divide the rhizomes into several pieces. Just make sure every piece has at least one “eye” (that’s the little bud where new growth starts). This is a great move for older plants; it actually rejuvenates them! Since the divided sections focus all their energy on one main shoot rather than a bunch of side growth, you’ll end up with much stronger, happier plants the following spring.