If you’ve already got Canna lilies brightening up your garden, you’re in luck! There are two main ways to get even more of these tropical beauties for your yard. You can try your hand at growing them from seed, but if you want a method that’s way faster and more reliable, dividing the rhizomes in the spring is definitely the way to go.
Propagation by Division
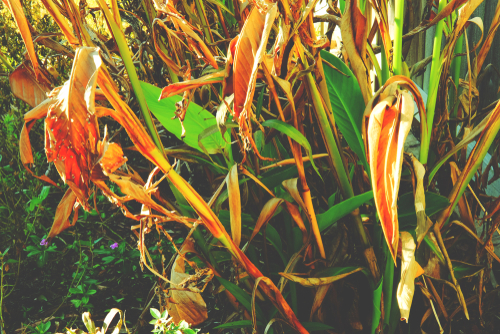
Since Cannas are tropical natives, they aren’t winter hardy in most climates. This means you’ll need to dig up those tubers in the fall once the leaves start turning yellow or brown. Give them a little “winter nap” by storing them in a cool spot tucked into some sand or dry soil. Just remember: no watering and no fertilizing during their beauty sleep!
The Spring Cut
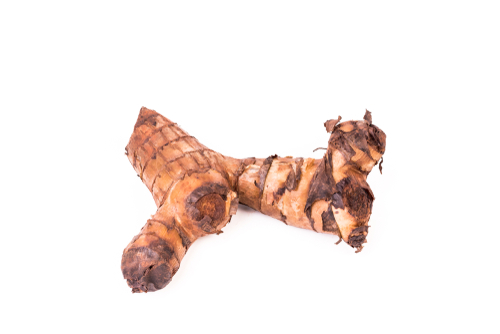
When spring rolls around, it’s time to get dividing. Here’s how you do it:
- Grab a spade and make sure it’s clean and disinfected (we don’t want any plant infections!).
- Slice the rhizomes into sections, making sure each piece has no more than three “eyes” (those little growth bumps).
- Plant your new sections in a sunny, sheltered spot with plenty of nutrient-rich soil.
Propagation from Seed
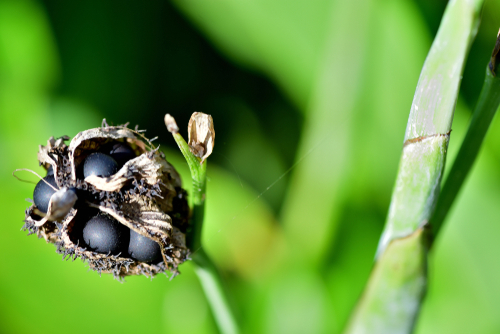
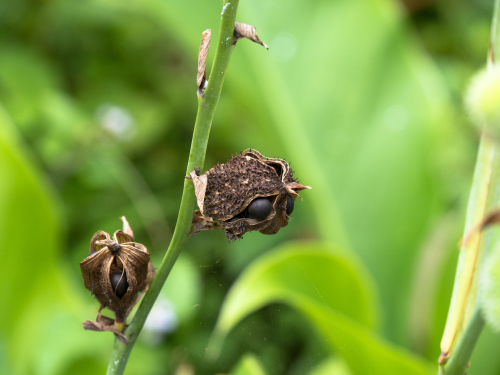
If you’re feeling patient and want to try growing from seeds, wait until the fall when the Canna seed pods are fully ripe. Once you’ve harvested the seeds, you’ll notice they have a super tough outer shell. To help them sprout in the spring, use a bit of sandpaper to scuff them up until you can just see the white inside.
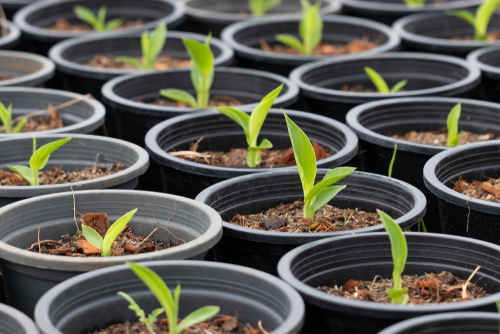
Next, soak the seeds in warm water for about two days to let them swell up. Plant them about an inch deep in a pot with good potting mix. The cool thing about Canna seeds? That thick shell keeps them viable for ages—they can actually stay sprout-ready for decades if you decide to store them!