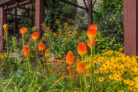
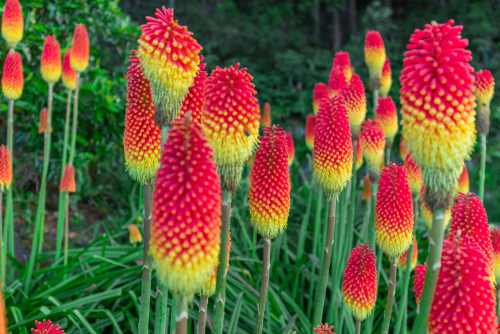
While most people propagate Red Hot Pokers (Kniphofia) using offsets or cuttings, growing them from seed is a super rewarding way to expand your garden. If you want the best results, keep an eye out for your most vibrant, stunning blooms and save the seeds from those specific stalks!
Step 1: Collecting Your Red Hot Poker Seeds
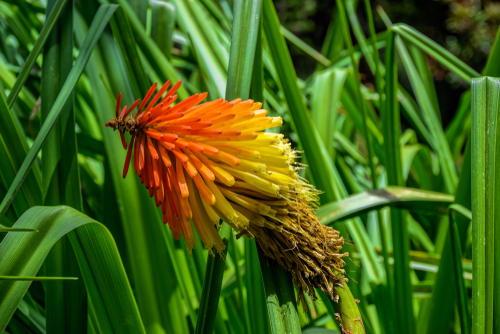
If you’re planning to harvest viable seeds, you’ll need to resist the urge to tidy up. Leave those gorgeous flower spikes on the plant even after they’ve faded. For the rest of the plant, you should keep deadheading during the blooming season to encourage more flowers, but leave your “chosen ones” alone so they can go to seed.
Once the flowers wither, the seeds will start to develop. You’ll know they’re ready when you can easily shake them loose from the pod. After you’ve gathered your bounty, go ahead and prune back those dried-out stalks. Just a quick safety heads-up: keep your seeds tucked away from kids and pets. While Red Hot Pokers aren’t toxic, those tiny seeds can definitely be a choking hazard.
Step 2: The Cold Treatment (Stratification)
Here is the secret sauce: Red Hot Poker seeds need a “winter chill” before they’re willing to sprout. If you skip this cold period, they’ll likely just sit in the dirt and do nothing.
To mimic nature, pop your harvested seeds into a freezer bag and keep them in the refrigerator over the winter. Once spring rolls around, they’ll be “woken up” and ready for planting!
Step 3: Sowing Your Seeds
Ready to get growing? Follow these simple steps to get your spring seedlings started:
- Fill a seed tray with moist seed-starting mix.
- Scatter your seeds across the surface of the soil.
- Gently press them down so they make contact with the dirt, but do not cover them with soil—they need light to germinate!
- Place the tray in a bright spot, but avoid harsh, direct sunlight. A good location is key.
- Keep the soil consistently moist (a spray bottle works great here).
You can actually sow these seeds anytime from spring through fall. As long as they stay around 68°F (20°C), you should see sprouts popping up in about two to four weeks. Keep them well-watered and in a bright spot, and you’ll have sturdy little starts before you know it.
Pro Tip: Even though these babies love moisture, make sure the tray isn’t waterlogged—nobody likes soggy feet! Once your seedlings have grown three to six true leaves, they’re ready to be moved into their own individual pots with standard potting soil.