Cymbidium orchids are known for being pretty fast growers. Once yours has reached a decent size, it’s definitely time to think about moving it to a new home. If you’re wondering about the best soil, picking the right pot, or just need a few pro tips on repotting your Cymbidium, you’ve come to the right place!
When is it time to repot?
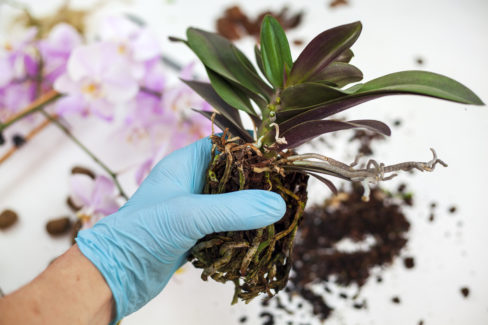
You’ll know your Cymbidium is ready for a upgrade when you see roots starting to peek out or even push their way out of the pot. That’s a clear signal that things are getting a bit too cramped in there. A good rule of thumb: always wait until the flowering season is over before you start repotting.
Choosing the right pot
Like most orchids, Cymbidiums actually prefer a snug fit. When picking out a new container, don’t go overboard—choose one that’s just a little bit larger than the old one. However, do make sure it’s deep enough so those long roots have plenty of vertical space to stretch out.
Make sure your new pot has a drainage hole at the bottom. I always recommend adding a layer of gravel or pebbles at the base for drainage; this keeps the root ball from sitting in water, which is a big no-no. It’s also a smart move to pick a pot with a bit of weight to it. These orchids can get top-heavy, and a sturdy pot keeps them from tipping over.
What kind of soil should I use?
For the best results, use a high-quality orchid potting mix for your Cymbidium. You can even mix in a little extra bark mulch to keep things nice and airy.
If you’re the DIY type and want to mix your own substrate, grab some bark mulch, peat, and maybe even a few styrofoam bits for aeration. Another great homemade blend involves compost, coconut fiber, and sphagnum moss.
Step-by-step repotting guide
- Carefully remove your Cymbidium from its old pot.
- Gently rinse off the old substrate from the roots.
- Check the roots for any signs of damage or rot.
- Divide the plant if it’s getting too big.
- Add your drainage layer and some fresh substrate into the new pot.
- Settle your orchid into its new home.
Pro tip: If you find any soft or mushy roots while you’re inspecting them, just snip those off with clean shears. Once your orchid is settled in, hold off on the fertilizer for a few months to let it adjust.