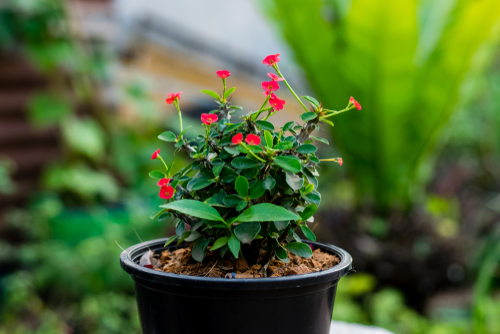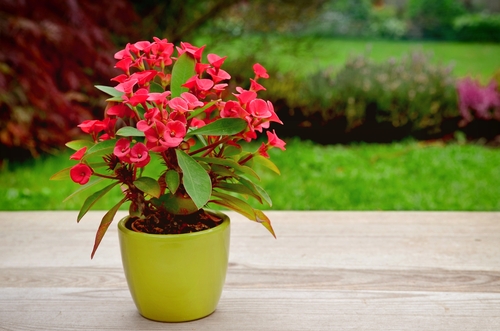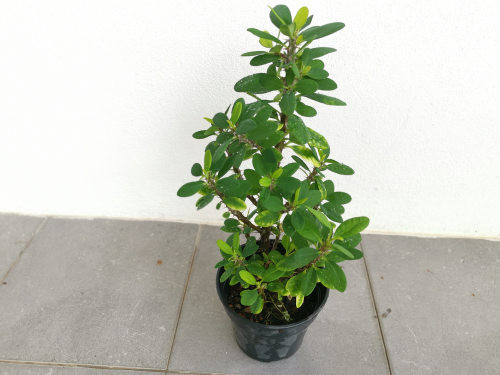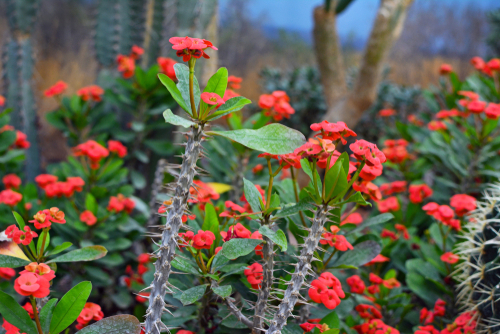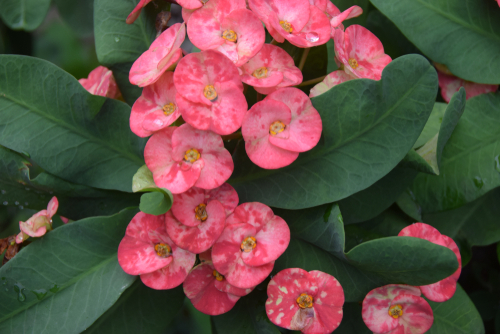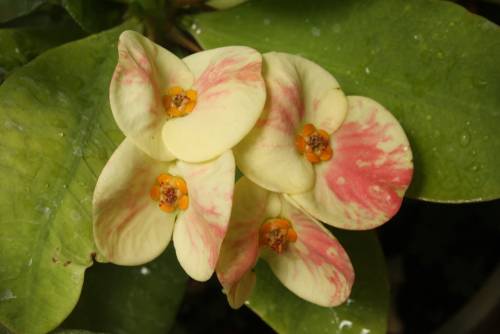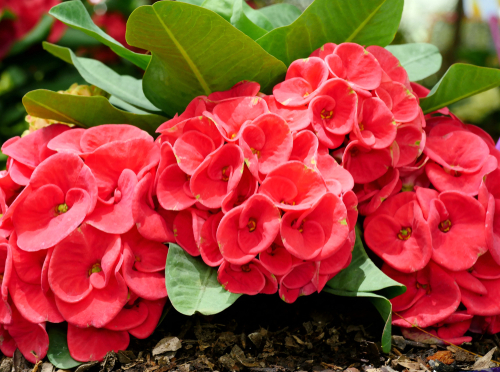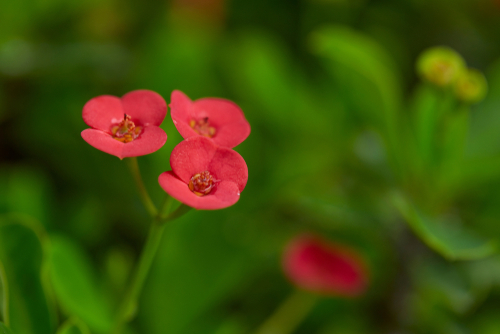
If you’re looking for a real showstopper for your sunny windowsill, you can’t go wrong with a Crown of Thorns (*Euphorbia milii*). When those vibrant blooms pop, it’s absolutely stunning! But to keep this beauty happy and healthy, it needs a little TLC—and that includes knowing when it’s time to move into a bigger “home.”
When is it time to repot?
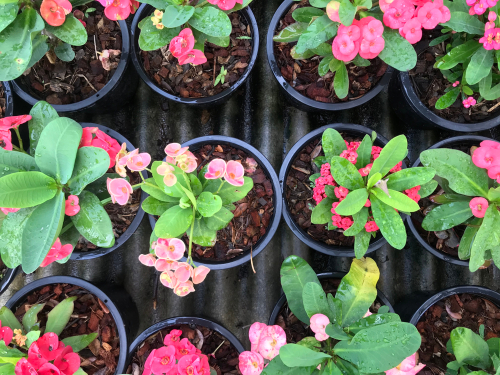
If you have a young plant, you’ll want to repot it every spring right after its winter rest. For the older, more established plants, every two to three years is usually plenty. Fresh soil gives the plant a nutrient boost, helping it focus all its energy on those gorgeous flowers during the growing season.
Of course, sometimes you need an emergency repot! If you see roots poking out of the drainage holes or if the plant is starting to wobble and lose its balance, it’s definitely time. Usually, this means the roots have taken over so much that there’s barely any soil left in the pot.
Picking the right soil
The Crown of Thorns isn’t too picky, but it does love good drainage. You can use standard potting soil or a cactus mix. I like to mix in a little extra sand to make sure the water flows through easily. These plants hate “wet feet” (standing water), so creating a drainage layer at the bottom of the pot is a must.
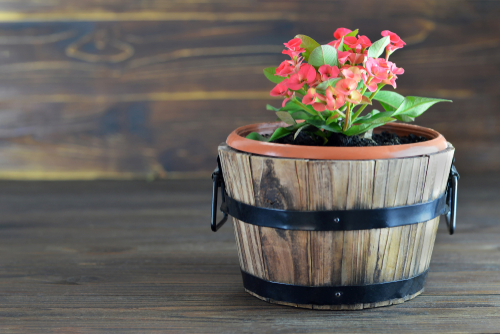
Choosing a new pot
Always go for a pot that’s just a size or two larger than the current one. You want to give those roots room to stretch out without drowning them in too much excess soil. Most importantly: make sure the pot has a drainage hole! To prevent root rot, I always recommend starting with a layer of gravel or clay pebbles at the bottom for drainage.
The step-by-step guide
Before you dive in, get your gear ready. You’ll need fresh soil, your new pot, and a sharp pair of shears. Pro tip: Do not forget your gardening gloves! The Crown of Thorns gets its name for a reason—those thorns are sharp. Plus, if you have to trim the plant, it leaks a milky sap that’s actually toxic and can really irritate your skin.
- Gently wiggle the plant out of its old pot.
- Shake off as much of the old, tired soil as you can.
- Give the roots a quick inspection. If you see any parts that are dried out or mushy/rotten, snip them off with your shears.
- Create your drainage layer at the bottom of the new pot. I like to cover it with a small piece of landscape fleece so the soil doesn’t wash away when you water.
- Add a base layer of fresh soil and center your plant in the pot.
- Fill in the rest of the space with soil.
- Press the soil down firmly (but gently!) to remove air pockets, and give your plant a good drink of water to settle it in.