The *Zamioculcas zamiifolia*—or as most of us call it, the ZZ Plant—is a total superstar in the houseplant world. People love it because it looks amazing and is practically bulletproof. One of the best things about the ZZ? You don’t have to worry about repotting it very often.
When is it time to repot?
Your ZZ plant is perfectly happy being a bit snug, so you won’t need to move it to a new home very often. However, keep an eye out for these signs that it’s time for an upgrade:
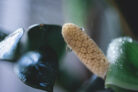
- The rhizomes (those potato-like bulbs) are starting to push against or grow over the edge of the pot.
- The stems are spreading out so far they’re hanging over the rim.
- You’ve recently dealt with pests or diseases and want a fresh start.
- You accidentally overwatered it and need to swap out soggy soil to prevent root rot.
The best time to repot
Ideally, you’ll want to repot your ZZ plant at the start of its growing season, which usually means March or April. That said, these plants are pretty tough—if you miss that window, you can repot later in the year without worrying about hurting the plant.
Choosing the right pot size
When picking out a new pot, don’t go overboard! ZZ plants actually thrive when things are a little tight. If you give them too much room, they might focus more on root growth than those beautiful leaves. Stick to a pot that is only one or two sizes larger than the current one. Also, since ZZ roots tend to grow outward rather than deep down, a wider, shallower pot is usually a better bet than a tall, skinny one.
Dividing while you repot
If your ZZ plant has become a total unit, repotting is the perfect time to divide it. You can gently split the plant into several sections—just make sure each piece has at least one strong stem attached to a healthy rhizome. Since these new divisions will be smaller, you’ll actually want to move them into smaller pots than the original one.
How to repot your ZZ plant like a pro
Ready to get your hands dirty? Just follow these simple steps:
- Get your new pot ready with some fresh potting mix.
- Drainage is key! ZZ plants hate “wet feet,” so start with a layer of gravel, expanded clay pebbles, or broken terracotta pieces at the bottom of the pot before adding your soil.
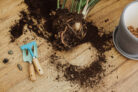
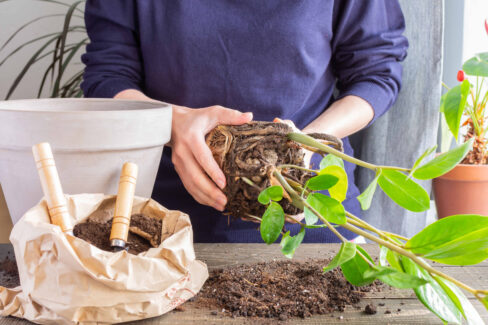
- Carefully remove the ZZ plant from its old pot. Try to be as gentle as possible with the roots.
- Shake off the old, tired soil from between the roots.
- Take a look at the root system. Use a clean knife or sharp garden shears to snip away any roots that look mushy, rotten, or totally dried out.
- Place the plant in its new home and fill in the gaps with soil. Make sure it’s sitting steady and isn’t wobbling around.
- Give it a light drink of water to help it settle in, but be careful not to overdo it!