Hollyhocks are such a classic garden staple, aren’t they? While they’re actually pretty tough once they’re established, they do need a little TLC to get started. If you’re looking to add these towering beauties to your yard, here’s my guide on how to sow and care for them so they thrive.
How to Get Your Hands on Hollyhock Seeds
First things first: you’re going to need some seeds. You can easily pick these up at your local garden center or order them online. But, if you already have some growing in your yard (or a neighbor is willing to share!), you can totally harvest them yourself. Just wait until the blooming season is over and collect the ripe seeds directly from the stalks. Give them some time to dry out, and they’ll be ready to plant next year.
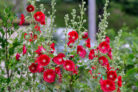
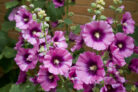
One little “heads up” if you’re harvesting your own: hollyhocks come in a rainbow of colors, and nature loves to mix things up. Unless you’re buying specific, lab-sorted seeds from a shop, the color of next year’s flowers can be a bit of a surprise. Since bees cross-pollinate them, you can’t always be 100% sure what color you’re going to get!
To keep your harvested seeds happy until planting time:
- Make sure they are completely dry.
- Store them in a cool, dark spot.
The Best Way to Sow Your Seeds
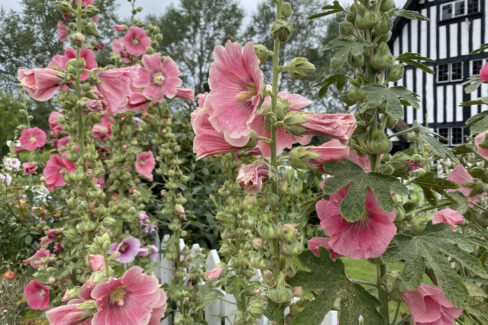
The great thing about hollyhocks is that they have a really high germination rate. In fact, they’re famous for “self-seeding”—if you already have them in your garden, you’ll likely see tiny new plant babies popping up all on their own near the parent plant. If you want them somewhere else, just dry the seeds and scatter them in their new home come springtime.
A quick pro-tip: you don’t really need to start these indoors. In fact, I usually recommend against it. Hollyhocks develop long taproots very quickly. They’ll outgrow a small starter pot before you know it and start begging for more room. It’s much easier (and better for the plant) to sow them directly into the ground where they’re going to live.
Planting and Aftercare
Hollyhocks are what we call “dark germinators.” This just means the seeds need to be tucked under a layer of soil to start growing—they won’t sprout if they’re just sitting on top. Choose a sunny spot with rich, nutrient-dense soil. If you notice your seedlings are starting to look a bit crowded, don’t be afraid to thin them out.
Giving them enough elbow room ensures each plant gets plenty of nutrients from the soil without having to compete with its neighbors. If you change your mind about where they’re sitting, you can transplant them without much trouble before they start their big bloom the following spring. Once they’ve flowered, though, it’s best to leave them be unless they’re really struggling!