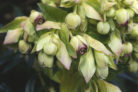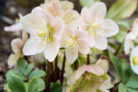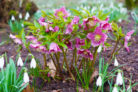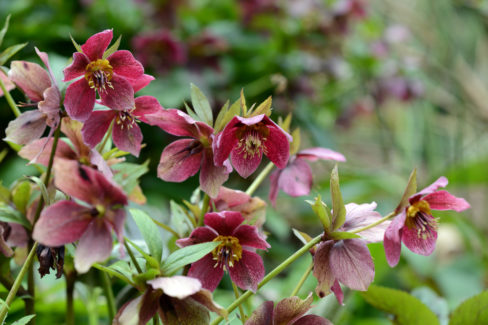
There’s something truly magical about seeing those first white Christmas Rose blossoms poking through a thick blanket of snow in December or January. These delicate, bowl-shaped flowers are tough as nails, braving ice and frost to bring a much-needed pop of life to a dreary winter garden. The best part? These perennials are incredibly low-maintenance—as long as you leave them be. They really don’t like to be disturbed, and moving them can be a bit of a gamble.
Why moving Christmas Roses is tricky
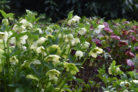
Once a Lenten or Christmas Rose (Helleborus) gets settled, it pretty much wants to stay put forever. They aren’t fans of having the soil around them hoed or weeded aggressively, and transplanting them can often stop them from blooming or even cause the plant to die off entirely. If you absolutely have to move yours, you’ve got to be extra careful. First things first, make sure the new spot is just as good as the old one by checking these boxes:
- Plenty of light, but not harsh rays
- Partial to full shade
- No direct midday sun
- Ideally tucked under deciduous trees or shrubs
- Protected from harsh winds
- Loose, well-draining soil
- Rich in nutrients
- Soil with plenty of lime (alkaline), plus some sand and loam
- Absolutely no standing water (wet feet are a no-go!)
How to handle the transplant
If moving your Christmas Rose is unavoidable, you’ll need to use a gentle touch. The best time to tackle this is in the fall, before any flower buds have started to form. The golden rule here is to keep the root ball as large as possible. The more roots you break, the harder it will be for the plant to recover. Here’s my step-by-step guide for a smooth transition:
- Use a garden fork to poke deep into the soil all the way around the plant to loosen things up.
- Gently rock the fork back and forth to ease the roots out of the ground without snapping them.
- Transport the perennial to its new home with as much original soil attached as possible.
- Make sure the new hole is already dug and the soil is loosened deep down.
- Add a bit of compost or humus to the hole to give it a nice nutrient boost.
- Set the plant in the center, making sure the root ball is fully covered and not sticking out of the ground.
- Pro Tip: If you aren’t sure if your soil has enough lime, just bury a piece of chalkboard chalk near the roots! As it rains, the chalk dissolves and releases the minerals the plant craves.
Finally, fill the rest of the hole with soil and press down very lightly—you want the roots to be able to spread out easily in their new home. Give it a good drink of water, but again, make sure the area drains well so the plant isn’t sitting in a puddle.