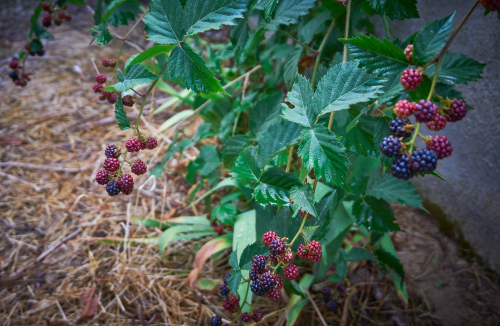
Blackberries are the ultimate “snack plant” for any backyard. Not only do they serve up a massive harvest, but the berries are also packed with health benefits. If you give them the right care and a solid trellis, you can seriously boost your berry yield.
Why do blackberries even need a trellis?
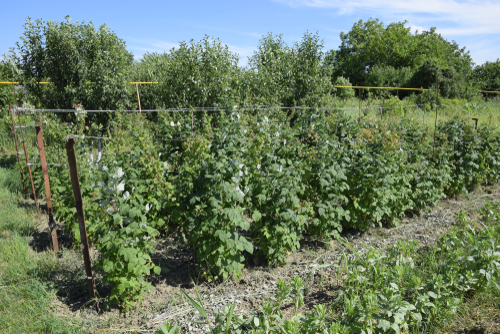
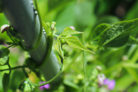
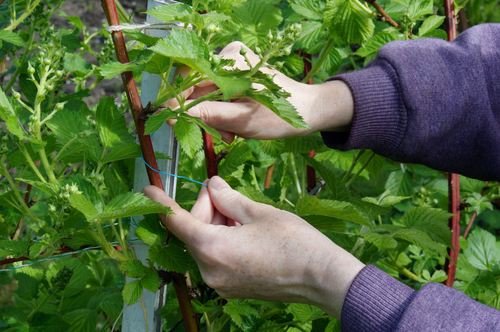
A healthy blackberry plant can send out massive canes that reach up to 13 feet long! Without support, those vines eventually flop over onto the ground and snap. By tying them to a trellis, you keep them safe and ensure every single branch gets plenty of sunlight—which, of course, means way more fruit for you.
The best way to go is a DIY trellis. Since you’ll be pruning and re-tying your vines every year anyway, it makes much more sense to build a custom setup rather than buying a flimsy store-bought version.
Tools and materials for your trellis
Naturally, you’ll want to build your trellis right where you plan to grow your berries. Start with a sunny garden bed and a young blackberry plant. Here’s what you’ll need from the shed:
- A shovel
- A sledgehammer
- Garden shears
- A cordless drill
For materials, grab the following:
- Two 4×4 or 2×4 wooden posts (about 5 feet tall)
- Two matching ground anchors/sleeves
- Two thinner pieces of wood for bracing
- Wood screws
- Six screw hooks
- A few heavy-duty zip ties or garden wire
Building your blackberry trellis
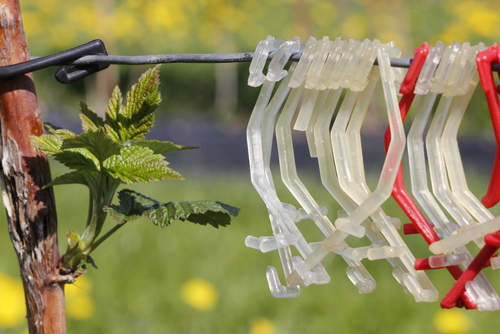
First things first: use your sledgehammer to drive the ground anchors into the soil about 3 to 6 feet apart. Make sure they’re perfectly lined up with your garden bed. Slide your wooden posts into the anchors and secure them tightly with wood screws. To make sure the whole thing doesn’t wobble, it’s a good idea to attach your thinner support braces to the corner posts.
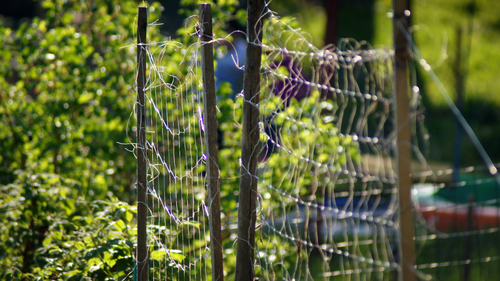
Next, screw three hooks into each post, spaced evenly apart. Finally, run your tension wire between the hooks to create the “lines” your blackberries will climb. Aim for about 8 to 10 inches of space between each row of wire. Now you’re all set for a bumper crop of berries!