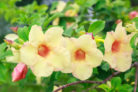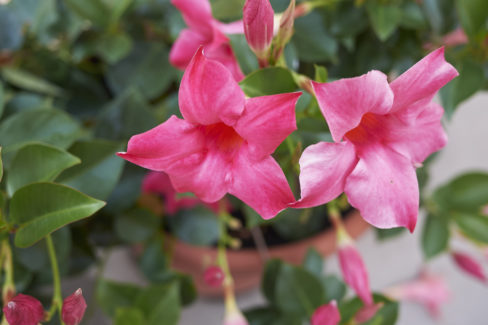
Dipladenia (also known as Mandevilla) is a total superstar on the balcony, but let’s be real—these climbing beauties can get pretty pricey at the garden center. If you want more of them without breaking the bank, propagating them via “layering” is a fantastic alternative to buying new ones. You’ll just need a little bit of patience!
Propagating via Layering
Usually, layering is something we do with plants growing directly in the ground because you need to pin a stem down about 12 to 20 inches away from the main plant—which is tricky with most potted greens. However, Mandevilla is a great exception to the rule because its vines grow long enough to reach a second pot easily.
The best time to start is in early summer, just like when you’re taking cuttings. This gives the new little guy enough time to establish its own root system before it’s time for winter storage and pruning.
What You’ll Need
To get started, grab these supplies:
- A sharp knife
- A second pot for the new plant
- Fresh potting soil
- Stones, hairpins, or landscape staples to weigh the vine down
- A small wooden stake or bamboo skewer
Pro tip: Mandevilla belongs to the dogbane family, which means that milky white sap inside the stems is toxic and can irritate your skin. Definitely wear gloves when you’re working with them!
Step-by-Step Guide
To ensure your new Dipladenia grows up big and strong, make sure both the mother plant and the vine you choose are healthy and vigorous. Here’s how to do it:
- Fill your second pot with potting soil.
- Place it right next to the mother plant’s container.
- Dig a small trench or hole about 4 inches deep in the new pot.
- Take a semi-woody vine from the mother plant and lay it into the trench.
- Make sure the tip of the vine (with one or two pairs of leaves) is poking vertically out of the soil at the end of the trench.
- Remove the leaves from the section of the vine that will be underground and lightly nick the bark with your knife to encourage rooting.
- Cover that section with soil.
- Secure the vine in place using stones or hairpins so it doesn’t pop out.
- Tie the tip of the vine to your wooden stake so it grows upward.
- Give it a good drink of water.
Now comes the part where you need some patience! Once you see new leaves sprouting from the tip, it means the “layer” has grown enough roots to survive on its own. At that point, you can snip the connection to the mother plant and repot it if needed. From here on out, treat your baby Mandevilla just like a grown-up plant.
Alternative Method: If your main pot is big enough, you can actually layer the vine right back into the same container. Just make sure there’s enough room so the mother plant doesn’t completely crowd out the new little one!