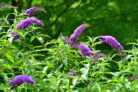
Every summer, Butterfly Bush puts on a spectacular show with its vibrant, honey-scented blooms. Whether you plant them in a cluster or as a fragrant hedge, these shrubs bring a majestic vibe to any backyard. But a quick heads-up: these beauties are vigorous growers! They love to self-seed, so you’ll need to keep an eye on them to make sure they don’t take over your garden.
1. Method: Growing Butterfly Bush from Seed
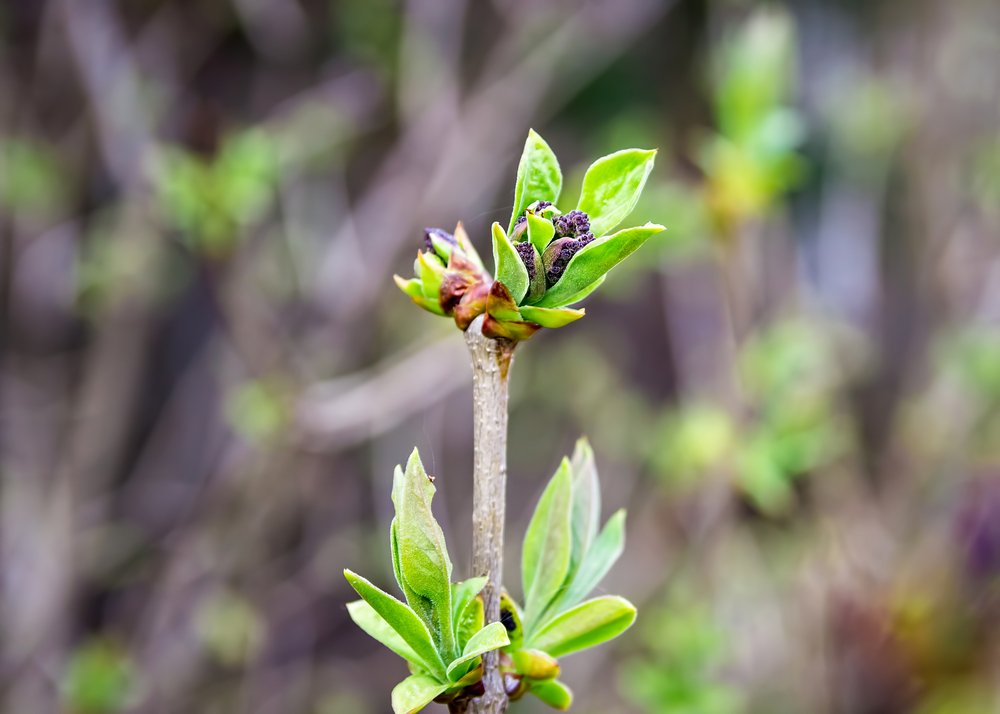
The easiest way to get more plants is to simply let nature do the work. Butterfly Bushes are famous for self-seeding. Honestly, you don’t have to do much besides wait for those tiny green sprouts to pop up. Once they’re big enough, just dig them up and move them to your favorite sunny spot.
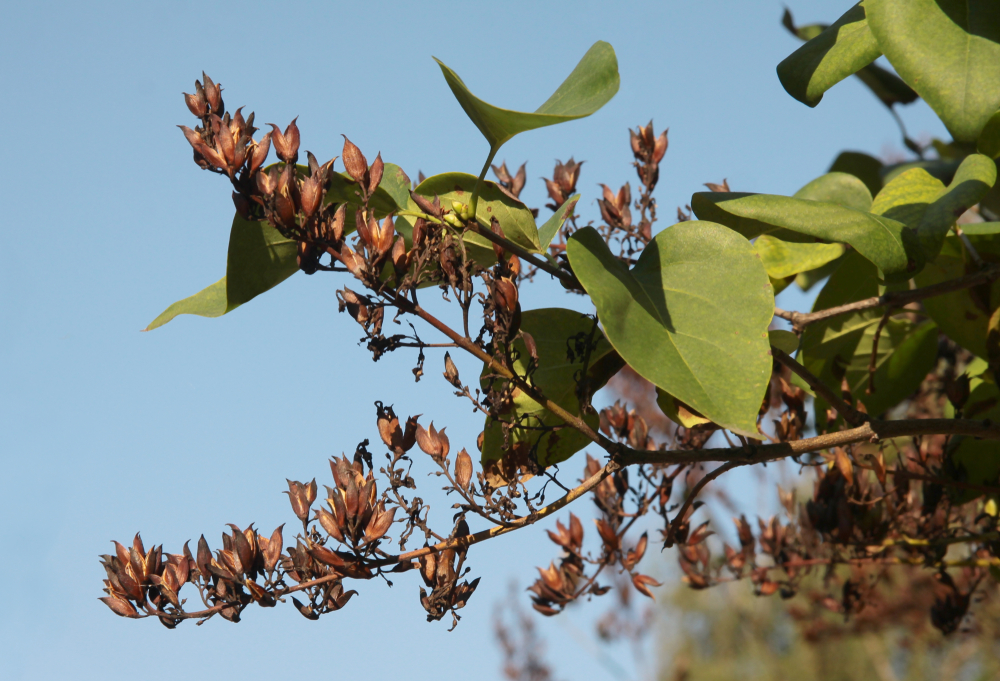
If you want a bit more control, you can harvest the ripe seeds yourself after the flowering season and start them in pots. This keeps your garden from becoming a jungle and lets you pick only the strongest, healthiest seedlings to keep.
Propagating Buddleja davidii: Expect the Unexpected
One thing to keep in mind with seeds is that they’re full of surprises. If you have several different varieties of Butterfly Bush in your yard, the seedlings won’t be “true to type.”
This means the “babies” rarely look exactly like the parent plant. Instead, they cross-pollinate, often reverting back to something that looks more like the original wild form. If you’re dead-set on keeping a specific color or variety, seeding isn’t the way to go.
2. Method: Propagating Butterfly Bush from Cuttings
If you want an exact clone of your favorite shrub, taking cuttings is the way to go. The best time to do this is during the summer—June and July are prime time, though you can usually get away with it through late August.
Here’s how to grow your own Butterfly Bush cuttings:
- Look for shoots that don’t have flowers and aren’t too soft or “mushy.”
- Cut the long shoots into sections about 4 to 6 inches long.
- Avoid using old, woody stems; they don’t root as easily.
- Keep two or three leaves at the very top of each cutting.
- Strip off all the other leaves from the bottom half.
- Snip the remaining top leaves in half (this prevents the plant from losing too much moisture).
- Fill small pots with a mix of seed-starting soil and sand (a 2:1 ratio works great).
- Poke one cutting into each pot and give them a good drink of water.
- Create a mini-greenhouse by placing a cut-off plastic bottle over the cutting.
- Pro tip: You can also use wooden skewers and a clear plastic bag if you don’t have a bottle handy.
- Make sure to “air out” your pots daily and keep the soil consistently moist.
As soon as you see new green growth, you can ditch the plastic cover. Once you see roots forming, congrats—you’ve successfully cloned your plant! Keep your young Butterfly Bush in a frost-free, cool, and bright spot for its first winter. By next spring, it’ll be ready to head out into the garden!