You can easily grow your own lilacs from cuttings, and honestly, it’s the best way to make sure your new plant looks exactly like the parent. If you want to expand your garden without spending a fortune at the nursery, here is everything you need to know to get started.
Lilac Cuttings: What You Need to Know
Propagating lilacs from cuttings is pretty straightforward and ensures you get a “true-to-type” plant. While you could technically grow them from seed, it’s a slow process and rarely done by home gardeners. The best time to take your cuttings is in the spring—ideally during May. When you snip a side shoot, try to include a tiny piece of the “old wood” (the main branch from the previous year) at the base. Aim for a cutting that is about 6 to 8 inches long.
Before you start snipping, make sure your mother plant is healthy and vigorous. You want a lilac that has grown naturally; avoid plants that have been over-fertilized, as their shoots tend to be weak and don’t root well. Of course, if your lilac is struggling with diseases or pests, it’s not a good candidate for propagation. Let it recover and get healthy before you try to take cuttings.
How to Plant Your Cuttings Correctly
Once you’ve taken your cutting, you’ll need to do a little “leaf maintenance.” Strip off most of the leaves, leaving only about two pairs at the very top. If you leave too many leaves, the plant will lose too much moisture through evaporation before it even has roots to drink with! Next, prep a pot with a well-draining substrate. A good mix includes:
- Low-nutrient seed-starting soil
- Sand, expanded clay, perlite, or peat
Poke your cutting into this mix about one-third of the way down. Now comes the important part: watering. You want to keep the soil moist so those roots can develop, but don’t drown the poor thing! It’s much better to water a little bit frequently rather than soaking it all at once. To give your cutting a head start, create a mini-greenhouse. Just grab a clear plastic bottle, cut off the top, and flip it over the cutting to trap humidity.
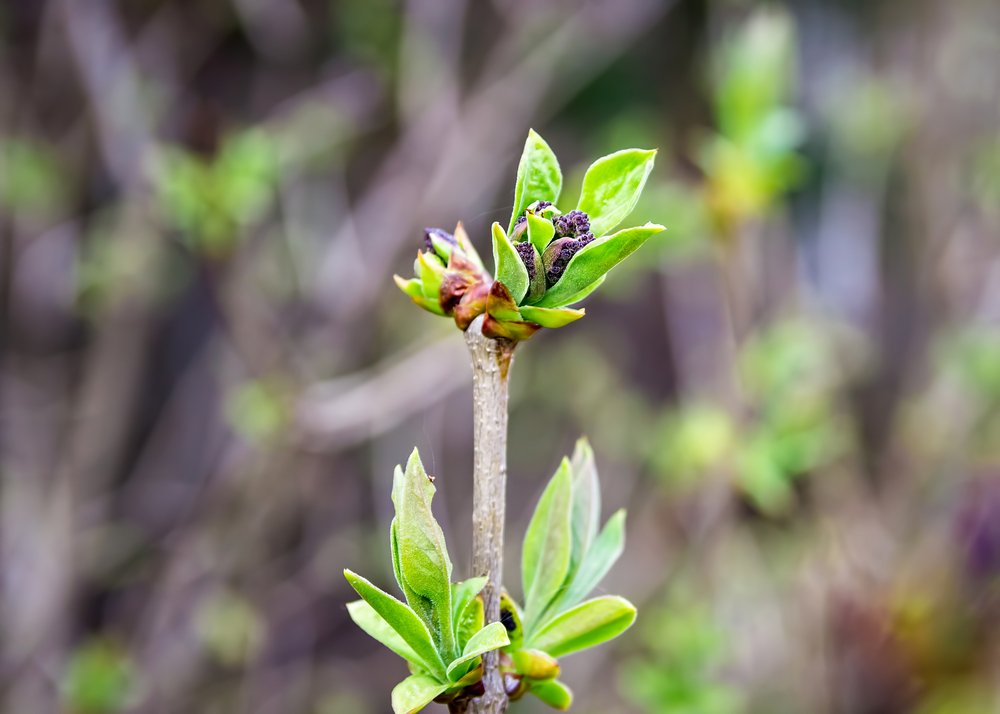
For the next few weeks, consistent moisture is the name of the game. Just be careful to avoid standing water, and make sure to “air out” your mini-greenhouse every now and then by removing the bottle for a bit. If the soil stays soggy, the base of the cutting will rot instead of rooting. Keep a close eye on it—once you see new leaves starting to sprout, you’ll know those roots have successfully taken hold!