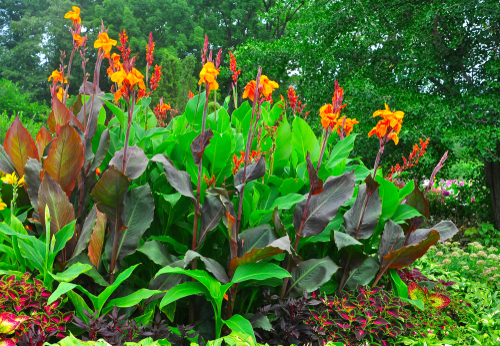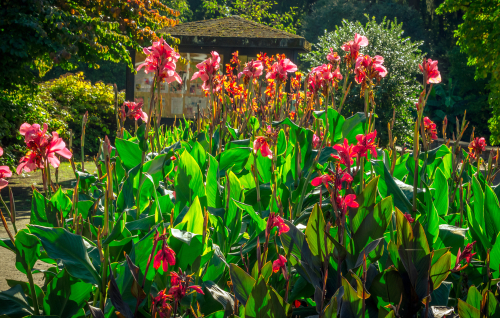
If you’ve got Canna Lilies (Blumenrohr) brightening up your backyard, you’ve probably thought about how to get even more of these beauties. While most people just divide the rhizomes, growing them from seed is a super rewarding project! However, if you just toss seeds in the ground in late spring, you might be disappointed—they’re notoriously stubborn germinators. To really stack the deck in your favor, you’ll want to start them indoors.
Harvesting Your Seeds
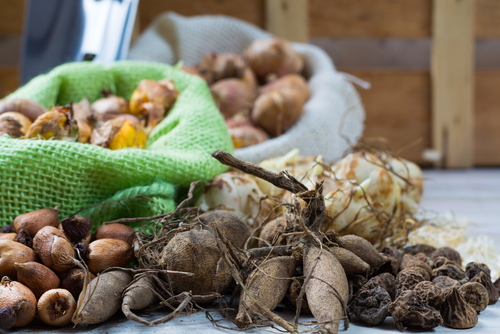
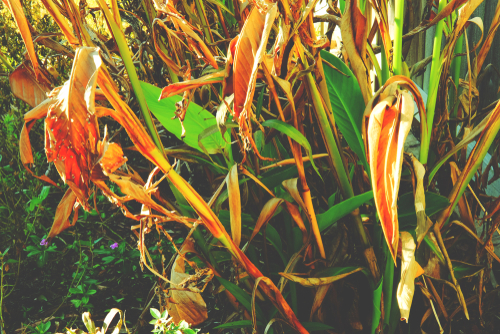
To get your hands on some Canna seeds for winter planting, you can either buy them or harvest them yourself in the fall. If you’re DIY-ing it, patience is key: wait until the seed pods are fully ripe on the plant. Usually, you’ll find two little black seeds inside each pod. The cool thing? You don’t have to plant them right away. Thanks to their incredibly thick outer shells, these seeds stay viable for years.
Why Start Them Indoors?
Trying to sprout Cannas directly in the garden is usually a uphill battle for a few reasons:
- That rock-hard seed coat makes it tough for moisture to get inside.
- Outdoors, germination can take months (and ain’t nobody got time for that!).
- Our typical spring weather just doesn’t provide the consistent heat and humidity these tropical plants crave.
The Step-by-Step Guide to Success
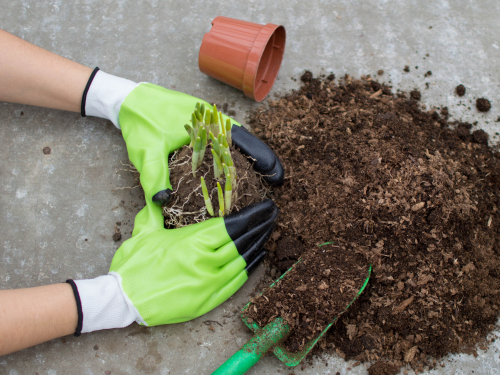
Since Canna seeds are basically like little pebbles, you need to give them a “wake-up call” using a process called scarification. Take a metal file, a nail file, or even some sandpaper and gently sand down the shell until you just start to see the white interior. Be careful not to go too deep—you don’t want to damage the embryo!
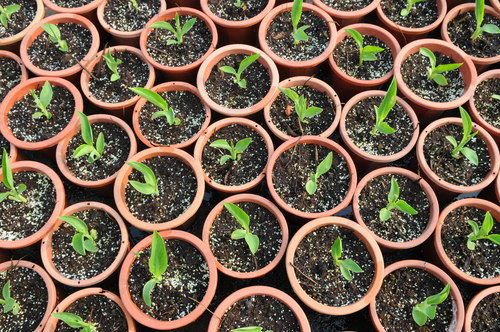
Once they’re scuffed up, soak the seeds in warm water for about two days to let them swell. After their bath, tuck them about an inch deep into pots filled with good potting soil. Place your pots in a bright, warm spot—a south-facing windowsill or right near a radiator is perfect. Once the threat of frost has passed in mid-May, your new babies are ready to head out into the garden!