If you’re looking to expand your indoor jungle by propagating your own coffee plant, you’ve got two main options: starting from seeds or taking cuttings. Both methods have their pros and cons, but honestly, both are totally doable for a home gardener!
Propagating from Seeds
The seeds of a coffee plant are actually tucked inside a fruit (often called a coffee cherry), which is edible and surprisingly aromatic. Before you get planting, you’ll need to remove the seeds from the pulp and let them dry out for a few days.
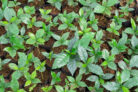
When you’re ready to plant, grab some standard seed-starting mix. Fill up a mini indoor greenhouse and gently press the seeds into the surface. Don’t bury them! Coffee seeds are “light germinators,” meaning they need light to wake up. Once they’re settled, give the soil a good misting with a spray bottle.
Coffee seeds can take up to four weeks to sprout and they really crave warmth—aim for a constant temperature of at least 77°F (25°C). During this time, make sure the soil doesn’t dry out, and remember to pop the lid of your greenhouse occasionally to let some fresh air circulate.
Propagating from Cuttings
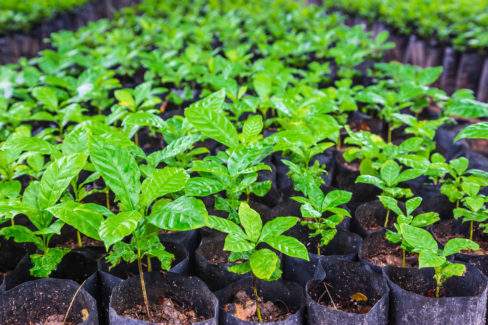
If you’re already pruning your coffee shrub, don’t throw those trimmings away! You can turn them into new plants. Look for cuttings that are at least 4 inches long. Strip off the lower leaves and prep some small pots with seed-starting soil. Poke the cuttings about two-thirds of the way into the dirt and firm the soil around them.
Patience is key here—it can take anywhere from several weeks to a few months for roots to form. Keep the soil consistently moist and consider using a humidity dome to prevent too much water from evaporating. Just like seeds, cuttings love a steady 77°F (25°C). Be careful not to let them get *too* hot, though, as high heat can actually stunt root growth. A bright spot with indirect sunlight is the “Goldilocks” zone for these guys.
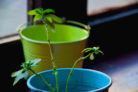
Repotting Your Young Plants
If you went the cutting route, you can usually repot your young plants by the following fall. At this stage, they’re ready for soil that’s a bit richer in nutrients.
If you started from seed, you can move the babies into their own pots as soon as they’ve grown their first “true” set of leaves (the ones that appear after the initial seed leaves). Don’t go too heavy on the fertilizer yet, though—you want to encourage those roots to keep searching. A mix of one-third seed-starting soil and two-thirds regular potting soil is usually the perfect blend for teenagers!