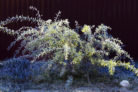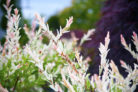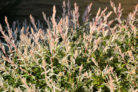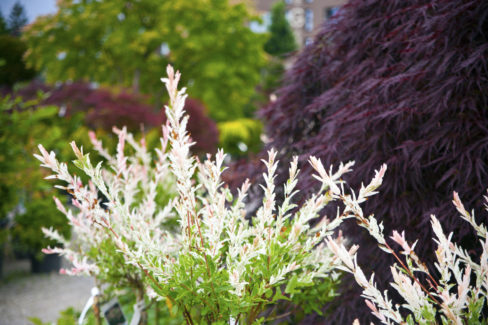
Dapple Willows (also known as Harlequin Willows) are absolutely stunning, and the best part? They aren’t high-maintenance at all. If you’ve already got one of these beauties in your yard and have fallen in love, I’ve got great news: it’s incredibly easy to grow more of them!
Here are the two main ways to propagate your Dapple Willow:
- Growing new plants from seeds
- Propagating via cuttings (my personal favorite!)
Growing from Seed Takes a Little Extra Care
One way to get more Dapple Willows is the “natural” way—using seeds. However, I’ll be honest with you: this method is a bit of a challenge. For the seeds to even be fertile, you need both a male and a female tree nearby to handle the pollination.
If you do manage to get your hands on some seeds, timing is everything. Willow seeds dry out fast, so you can’t just toss them in a drawer and save them for next season. To have any luck, you need to take the seeds directly from the tree and plant them in moist soil immediately. If you keep them hydrated, you’ve got a solid chance of seeing some sprouts.
The Easy Way: Propagating with Cuttings
If you want a foolproof method, cuttings are the way to go. It’s much simpler than dealing with seeds, and you don’t have to worry about the “gender” of your trees. The best time to grab your supplies is during your regular spring pruning—instead of tossing those trimmings in the compost, turn them into new trees!
To get started, look for healthy trimmings about 6 inches long. A pro tip: cut the bottom of the stem at an angle. This creates more surface area for the branch to soak up water. Here is your step-by-step game plan:
- Grab a glass jar or vase and fill it with fresh water.
- Place your cuttings into the water.
- Be patient! Wait until you see a healthy cluster of roots developing.
- Once rooted, move the cutting into a pot filled with a mix of potting soil and sand.
- Let the sapling grow strong in its pot until it’s ready to be planted in its permanent home.
- Make sure to give your new little willow plenty of water, especially right after planting!