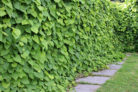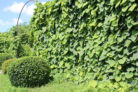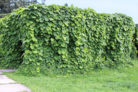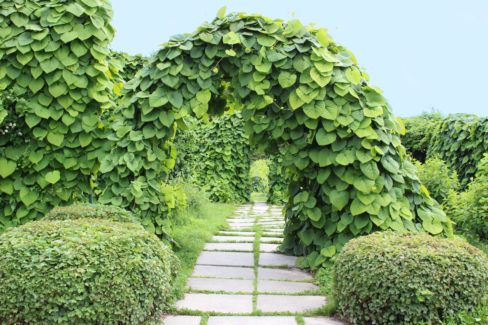
If you’ve got a big gap in your garden that’s begging for some lush greenery, or an ugly wall you’d rather not look at anymore, the Dutchman’s Pipe (Aristolochia) is your best friend. If you already have one of these beauties growing, you’re just a few steps away from having even more. Let’s walk through the best ways to propagate this climber so you can spread that leafy goodness around.
Propagation Methods
- Seeds
- Cuttings
- Layering
Seeds
In many climates, the Dutchman’s Pipe rarely produces seeds on its own. If you’re lucky enough to find some, harvest and dry them, then store them in a cool, dark, dry spot. You can also find seeds at many online garden shops. Just a heads-up: keep these away from the kiddos, as the seeds are toxic. Here’s how to get them started:
- Start your seeds indoors during the spring.
- Use small pots filled with a high-quality seed-starting mix.
- Cover the seeds lightly with soil.
- Cover the pots with plastic wrap to hold in moisture (but remember to vent them daily).
- Place them in a bright, warm spot.
- They love sunshine and temperatures around 77°F (25°C).
Cuttings
For most home gardeners, taking cuttings is the easiest and most reliable way to go. You’ll want to do this during the summer months.
- Take cuttings from one- or two-year-old shoots.
- Aim for a length of about 6 inches.
- Strip off the lower leaves.
- Fill small pots with seed-starting soil.
- Stick the cuttings in and place them in a bright, warm spot protected from the wind.
- Keep the soil consistently moist.
Once you see new leaves popping up, you’ll know the cutting has successfully rooted. Don’t rush to move it, though—wait until the roots have filled the pot. After that, your hardy Dutchman’s Pipe is ready to be planted in the garden or a large container.
Pro Tip:
Since the Dutchman’s Pipe is such a vigorous grower, you’ll likely be pruning it often anyway. Don’t let those summer trimmings go to waste—use them as cuttings for your new plants!
Layering
With those long, flexible vines, “layering” is a great hands-off method if you have a little patience. Early summer is the perfect time to start. Pick a vine that isn’t too old so it’s still flexible enough to reach the ground. Loosen the soil next to the plant, then lightly nick or “wound” the underside of the vine where it will touch the dirt. Pin the vine down into the soil using landscape staples or tent pegs, covering that section with earth but leaving the tip of the vine poking out.
By next spring, the layered section should have developed its own root system. At that point, you can snip it away from the mother plant, dig it up, and move it to its new permanent home.