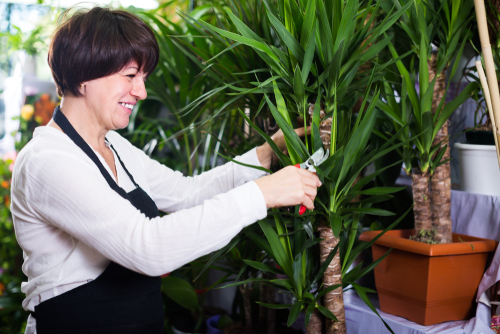
While most garden and houseplants need a good annual haircut to stay healthy, indoor palms are a totally different story. In fact, taking the shears to your palm can actually do more harm than good if you aren’t careful.
Pruning Indoor Palms
When it comes to pruning palms, the golden rule is “less is more.” Most palm species have a single growing point (usually right in the center of the crown) where all new fronds emerge. If you accidentally damage or cut this spot, the plant won’t be able to grow new leaves, and unfortunately, it will eventually die.
That said, sometimes a little light grooming is necessary. For example, if you notice the tips of the leaves turning brown, it’s usually a sign of a drafty spot, underwatering, or low humidity. Even if you fix the environment and the plant gets healthy again, those brown tips aren’t going to turn green. To get your plant looking sharp again, you can trim those brown tips off—just make sure you don’t cut into the healthy green tissue.
If an entire frond turns brown, patience is key. Wait until the whole leaf is completely dry and brown. At that point, the plant is no longer sending nutrients to it, and you can carefully snip it off near the trunk. Just be sure not to nick the trunk or any healthy tissue in the process!
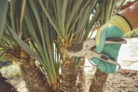
Trimming a Yucca “Palm”
Now, the Yucca isn’t technically a true palm—it’s actually part of the agave family—but it’s one of the most popular “palms” you’ll find in living rooms everywhere. Unlike true palms, Yuccas are very hardy and actually respond well to a major pruning. Older plants, in particular, love a good “rejuvenation” cut every now and then.
- Grab some high-quality, sharp pruning tools.
- Disinfect your blades first. This helps prevent any nasty infections from getting into the fresh cuts.
- Keep a small hand saw nearby for thicker stems.
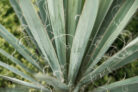
- Wear gardening gloves! Yucca leaves can be surprisingly sharp.
- Have some grafting wax or tree wound sealer ready.
- Use the saw to cut the stems down to your desired height.
- Use a small, sharp knife to clean up any ragged edges for a nice, smooth finish.
- Seal the edges of the cut with the wax. This prevents the plant from losing too much sap while still allowing it to breathe so it doesn’t rot.
Once you’ve finished pruning, it’s the perfect time to repot your plant to give it a fresh start!