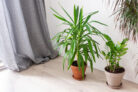
The Yucca, often called the Spanish Bayonet or Adam’s Needle, is one of those “set it and forget it” houseplants we all love. But even the most low-maintenance plants need a little TLC eventually, and that means repotting. If your Yucca is stuck in “shoes” that are too small, it’ll eventually stop thriving and start looking a bit sad.
How often should you repot?
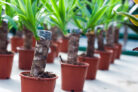
As a general rule of thumb, you’ll want to give your Yucca a new home every two to three years. If the pot gets too cramped, you might notice yellow leaves popping up. But before it gets to that point, keep an eye out for these tell-tale signs that your plant is craving more space:
- The plant is getting top-heavy and feels like it might tip over.
- Roots are peeking out of the drainage holes at the bottom.
- Roots are starting to “climb” over the top edge of the pot.
The best timing
The perfect time to repot a healthy Yucca is in the spring. Once the winter dormancy is over and you see new growth starting to sprout, it’s go-time! Plus, after a long, hungry winter, your plant will absolutely love the fresh boost of nutrients found in new soil.
Choosing the right soil
If your Yucca has been happy in its current soil mix, there’s no need to reinvent the wheel—stick with what works. However, if it’s been struggling, it might be time for an upgrade. The key is to find soil that is:
- Loose and airy
- Well-draining
- Rich in nutrients
I usually recommend taking standard potting soil and mixing in some sand or expanded clay pebbles (LECA) to improve drainage.
The pot
Your new pot should be just a size or two larger than the old one. Most importantly, make sure it has plenty of drainage holes at the bottom. Yuccas hate “wet feet,” so that extra water needs a way out!
Step-by-step guide to repotting
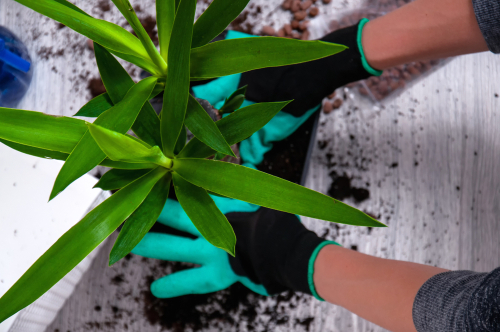
Lifting the Yucca out
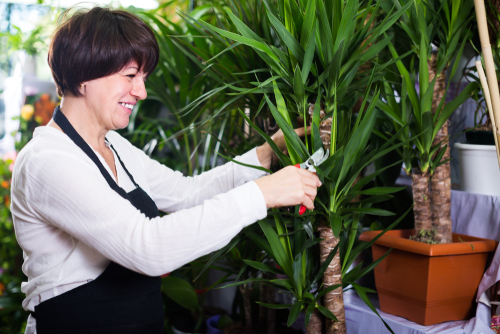
First things first: carefully lift the Yucca out of its old pot. A quick pro-tip—Yucca leaves can be surprisingly sharp, so do yourself a favor and pop on some gardening gloves. It’s also much easier to slide the plant out if the soil is dry. If it’s being stubborn and won’t budge, try running a knife around the inside edge of the pot to loosen things up.
Checking the roots
Once it’s out, gently shake off the old, excess dirt. Take a good look at the root ball. If you see any mushy, rotten roots or totally dried-out ones, snip them off with a pair of sterilized shears.
Preparing the new pot
Now, let’s get the new home ready:
- Create a drainage layer at the bottom using gravel or broken terracotta shards.
- Add a layer of your sand and soil mix on top.
- Fill it up just enough so the plant will sit at the right height.
Setting the Yucca in place
Place your Yucca right in the center of the pot. If you have a particularly large or tall plant, this is the part where you might want to grab a friend to hold the trunk steady while you fill in the gaps with soil.
As you fill, give the sides of the pot a few gentle taps. This helps the soil settle into all the nooks and crannies without packing it down too hard.
Watering and placement
Finally, give the soil a light press and a good drink of water. Your Yucca is officially moved in! You can move it back to its favorite sunny spot. Since fresh potting mix is already loaded with nutrients, you can skip fertilizing for the first few weeks while it settles in.