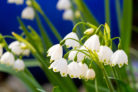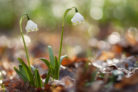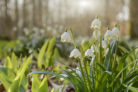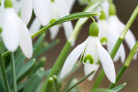
If you’ve ever been lucky enough to stumble upon a wild carpet of white Spring Snowflakes in the woods, I bet your first thought was: “How can I get these into my garden?” Well, you’re in luck! These little beauties are a fantastic addition to any yard. Here is the lowdown on how to propagate and care for your very own Spring Snowflakes.
Let Nature Do the Work: Self-Seeding
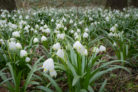
Spring Snowflakes (part of the Amaryllis family) are actually pretty independent. If they’re happy with their location, they’ll happily self-seed and create those gorgeous, lush clusters all on their own. We actually have ants and other insects to thank for this! They carry the seeds (and their tasty little attachments) around the garden, dropping them in new spots or spreading them as they go. Before you know it, you’ll have little patches of white popping up in the most delightful places.
Starting from Seed
Technically, you can harvest the seeds and plant them yourself, but honestly? I wouldn’t recommend it. It’s a bit of a slow burn—it can take several years before a seedling is strong enough to actually produce blooms. If you’re a patient gardener, go for it, but there are definitely faster ways to see results!
The Pro Move: Propagating via Bulblets
Dividing “offset bulbs” (or bulblets) is the way to go. It’s not just great for making more plants; it’s actually healthy for the plant if the cluster gets too crowded. When they’re packed too tight, they can’t grow to their full potential. This method is super reliable and my top recommendation.
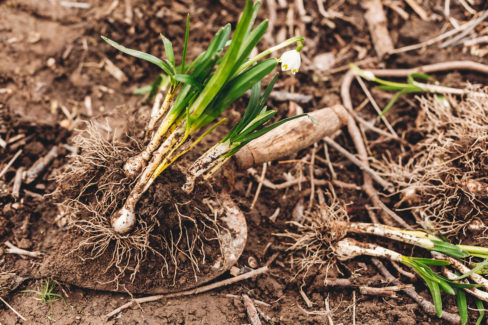
How to Divide Your Bulbs
Once the flowering season is over, carefully dig up the clump. You can gently pull the bulblets apart with your hands or use a clean knife. Here’s the trick: get them back into the ground at their new planting site immediately. These bulbs dry out fast! Also, a quick safety tip: wear gloves. Every part of this plant is toxic, so you’ll want to keep your hands protected.
Caring for Your Spring Snowflakes
Once you’ve got them in the ground, give them a good, deep soak to help the bulbs settle in. Keep the soil consistently moist for the first few weeks. You want to avoid “wet feet” (standing water), so let the top layer of soil dry out just a bit before watering again. Rainwater is always their favorite if you have a barrel handy! If you mixed some compost into the soil when planting, you won’t even need to worry about fertilizer for a few years, or until you notice the blooms starting to look a little tired.
Quick Tips for Watering and Feeding
- Give them a generous first watering after planting.
- Keep the soil moist afterward, especially during the summer.
- Avoid waterlogging/standing water.
- Don’t forget to check on them in the winter; they still need some moisture!
- Only fertilize after a few years or if growth slows down.
- Use organic options like compost, leaf mulch, nettle tea, or grass clippings.
Post-Bloom Care
By May, the Spring Snowflake starts to pull its energy back into the bulb, and the leaves will start to wither. Resist the urge to trim them! The plant needs those leaves to photosynthesize and store up energy for next year’s flowers. If you’re planning on moving or transplanting them, doing it right after they finish blooming is the best time to ensure strong growth for the following season.