One of the easiest ways to grow your own Ginkgo tree is by starting from seed. If you get moving in the spring, you’ll have cute little saplings ready to go by the time autumn rolls around!
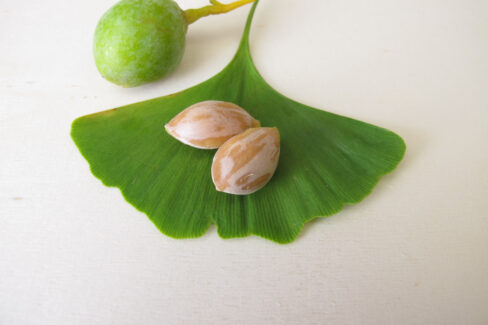
Prepping Your Seeds
If you have a handful of seeds to choose from, always go for the biggest ones. They tend to be a bit hardier during that delicate germination phase. To give them a head start, grab some sandpaper or a file and lightly scuff the surface. This helps break down the tough outer shell so the sprout can pop through more easily. After that, let them soak in a bowl of water for about 24 hours to really get things moving.
Planting the Seeds
You’ve got options here! You can use an indoor seed-starting kit filled with standard potting mix. If you go this route, keep them in a warm spot (at least 68°F), and you can actually start them any time of year. However, just like when you’re propagating from cuttings, planting them directly outdoors often works best because there’s less risk of the seeds drying out.
In the garden, just loosen up the soil a bit and lay the seeds on top. Press them down gently and cover them with a very thin layer of soil—it’s totally fine if you can still see them peeking through a little bit.
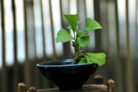
Transplanting Your Young Trees
You should see the first little sprouts popping up within about four weeks. If the soil has been a bit dry, don’t panic—it might just take a little longer. These seedlings will grow all summer long, and by early fall, they’ll be ready for you to move them to their permanent home.
Mid-September is the sweet spot for transplanting. You can move them to a different spot in the garden or transition them into a pot. If you decide to go the container route, you’ll want to give the root ball a very light trim. Just be super careful here—don’t overdo it! You want to make sure you leave plenty of those fine hair roots intact so the tree can keep soaking up nutrients.