There are a few different ways to propagate a Ginkgo tree, but starting them from cuttings is definitely the way to go if you want to make sure the “kids” have the exact same traits as the parent tree.
Choosing the Right Gender
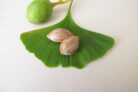
One of the biggest perks of using cuttings instead of seeds is that you can choose the gender of your new tree. Many gardeners are after the seeds, which are a popular spice in Asian cuisine. However, only female trees produce fruit. Just keep in mind that if you want fruit, you’ll still need a male tree nearby for pollination!
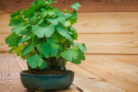
By using cuttings, you aren’t just picking the gender; you’re ensuring the young plants inherit the specific characteristics of the mother tree. For example, some varieties are known for growing very vigorously, while others stay quite small. That slower growth is a huge advantage if you’re planning to grow a Ginkgo as a bonsai.
How to Take Your Cuttings
A great time to grab your cuttings is in the spring when you’re already pruning your tree. You’ll want your cuttings to be at least 6 inches long, though 8 inches is even better. Use a very sharp knife to make a clean, diagonal cut.
Try to avoid using standard garden shears for this. Shears tend to crush the stem slightly at the cut site, which can really slow down root development. In the worst-case scenario, the tissue around that crushed spot will die off, and you might lose the whole cutting.
Just a heads-up: propagating plants—whether from seeds or cuttings—always comes with a bit of risk. With Ginkgo cuttings, it’s normal to lose up to two-thirds of them, so don’t just plant one! If you start with 15 to 20 cuttings, you’ve got a great chance of at least a few taking root and thriving.
Planting Your Cuttings
Getting your cuttings started is actually pretty straightforward. You can stick them directly into the ground or start them in pots first.
Step-by-Step Guide:
- Strip off all the leaves except for the ones at the very tip.
- Fill a pot with seed-starting mix or loosen the soil in your garden bed.
- Push the cutting into the soil until about two-thirds of it is buried.
- Give the soil a good watering.
- Cover the cutting with a transparent “humidity dome.”
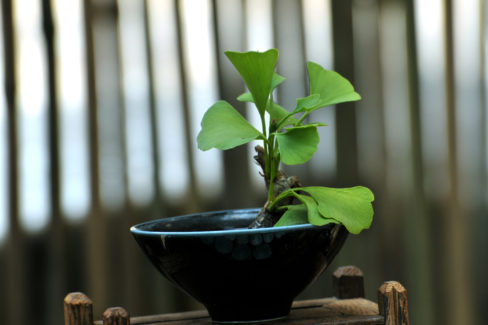
You can use something as simple as a clear freezer bag or a glass jar for the cover. By the time autumn rolls around, your cuttings should have established a nice little root system!