Cress is the ultimate “instant gratification” plant because it grows so incredibly fast! But if you want to get the most out of your harvest, you need to know a few tricks. It’s not just about grabbing a pair of scissors and hacking away; if you want that signature peppery kick and peak freshness, timing is everything. Here are the most important factors for a successful harvest.
When is cress ready to harvest?
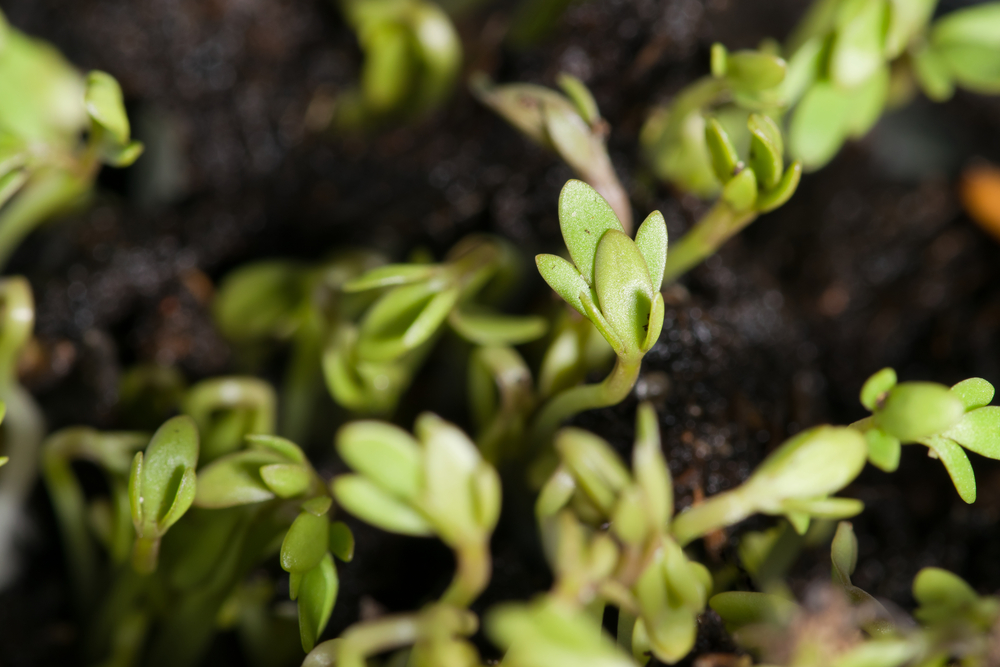
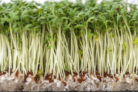
The timing for your cress harvest depends mostly on where you planted the seeds. If you’re growing it on a windowsill, it’ll be ready in just a few days. As soon as you see the first true leaves develop after the initial seed leaves (cotyledons), it’s time to harvest. Since cress is usually grown on simple substrates like paper towels or thin soil indoors, it doesn’t have the nutrients to keep growing forever. Garden-grown cress takes a bit longer, but even then, you won’t be waiting more than two or three weeks. Just make sure to harvest before the first flowers appear, as the flavor becomes pretty bland after that.
Pro Tip:
Keep your cress happy by watering it regularly with a gentle spray bottle or a light stream of water. The growing medium needs to stay consistently moist for a healthy harvest.
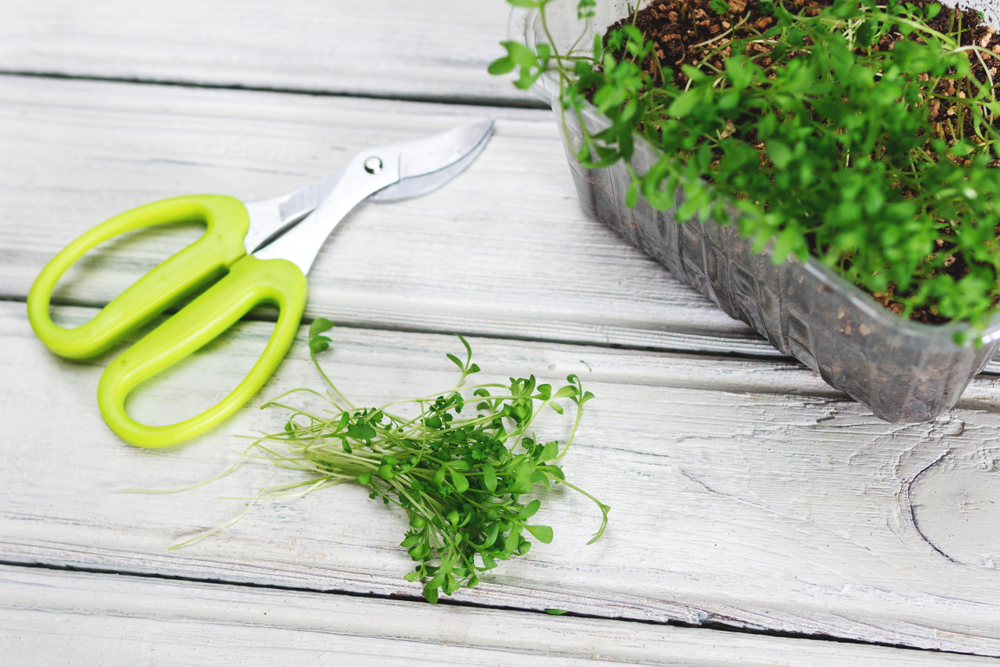
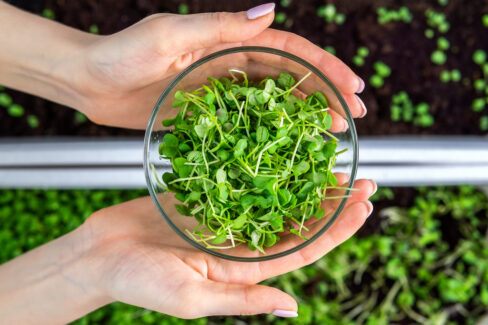
The right way to cut cress
For the best flavor, try to harvest in the early morning. This is when the essential oils are most concentrated, giving the sprouts their best aroma. Here’s the quick “cheat sheet” for harvesting:
- Cut in the early morning.
- Use sharp kitchen shears.
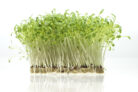
- Snip the stems just above the soil or substrate level.
- Avoid washing the greens if possible (to keep them from wilting).
Use it or lose it: Keeping cress fresh
You should really wait to cut your cress until right before you’re ready to eat it. Once it’s cut, it wilts incredibly fast. You can try keeping it in the fridge for up to a week, but there’s always a risk of mold developing. If you must store it, put it in a plastic bag (make sure it’s not soaking wet!) and tuck it into the crisper drawer.
Dealing with a bumper crop
If you find yourself with a ton of cress at once—maybe because you used it as a cover crop or it’s about to start flowering—you’ll need a plan to preserve it. While you *can* freeze or dry it, cress loses a lot of its punch that way. Instead, try whipping it into a spicy herb butter, making a cress-infused oil, or blending it into a zesty pesto.
Pro Tip:
Instead of one giant harvest, it’s much better to have several small ones. To do this, just stagger your planting every few days or weeks so you have a fresh supply of greens all season long!