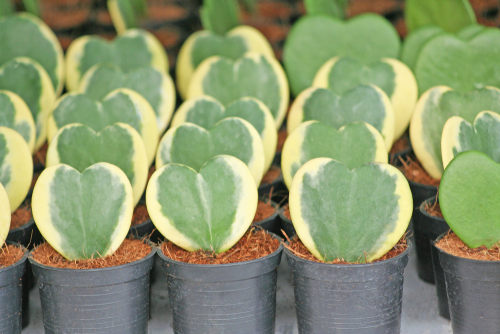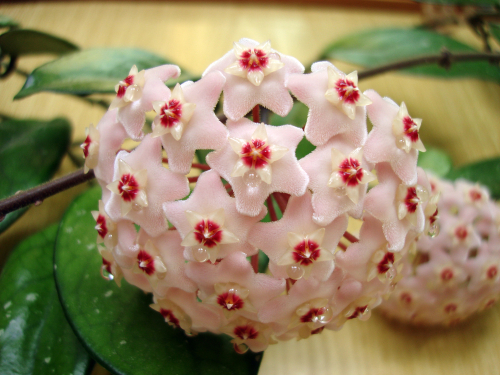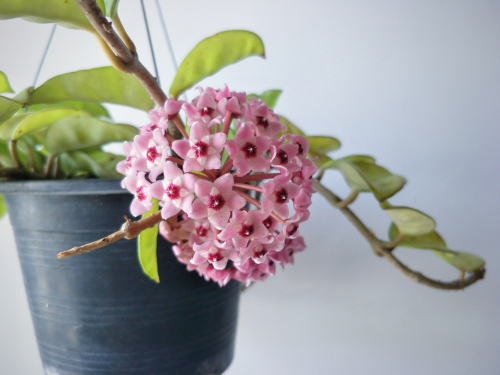
If you’ve got a Porcelain Flower (or Hoya, if you want to get fancy) at home, you already know how gorgeous those waxy, tropical blooms are. These rainforest beauties are surprisingly easy to propagate from cuttings if you know the right tricks. Whether you call it a Wax Plant or a Hoya, I’m going to walk you through exactly how to take cuttings and root them so you can grow your own little plant family.
The Best Time to Take Your Hoya Cuttings
Hoyas can be pretty vigorous climbers, and sometimes those long vines just start taking over your space. When they get a bit too unruly, a quick trim is the perfect excuse to start some new babies! The absolute best time to do this is in the spring when the plant is waking up and ready to grow.
Pro tip: Once you snip those cuttings, don’t let them sit around and dry out. Pop them straight into a glass of rainwater or some moist potting mix to keep them happy.
Rooting Your Cuttings in Water
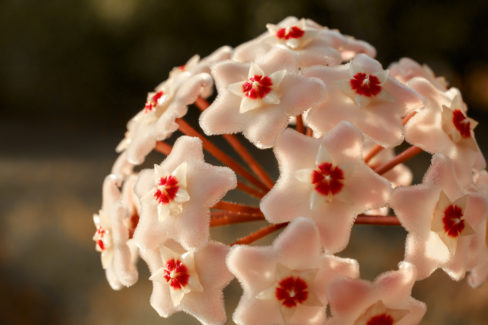
With over 100 different species of Hoya out there, you’ve got plenty of variety to choose from. While you can grow them from seed, propagating from rooted cuttings is way faster and easier.
Here’s my step-by-step for water rooting:
- Fill a small glass or vase with rainwater (they love the natural minerals!).
- Cut your vines into sections about 4 inches long.
- Make sure your cut is just below a leaf node (that’s where the magic happens).
- If there are flower buds on the cutting, leave them be—no need to snip them off.
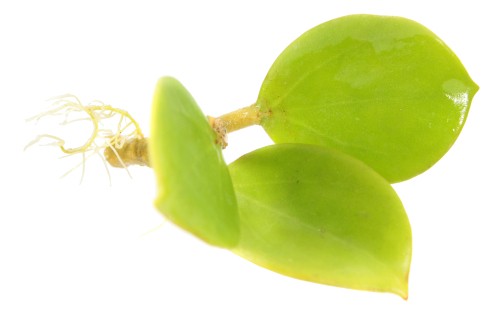
- Gently place your cutting into the water and wait for those roots to appear.
Rooting Directly in Soil
If you’d rather skip the water step, you can go straight into the dirt.
Here’s what you need to keep in mind:
- Use a light, airy mix of peat and sand.
- Keep your new “plantlings” out of direct, harsh sunlight.
- Make sure the soil stays consistently moist but not soggy.
Fill your starter pot with your soil mix and carefully tuck your cuttings in. If you want to speed things up, try creating a “mini greenhouse” by using a propagation box or even just flipping a clear plastic bag over the pot to lock in humidity. Place them in a spot with nice, filtered light. After about eight weeks, you can ditch the plastic cover.
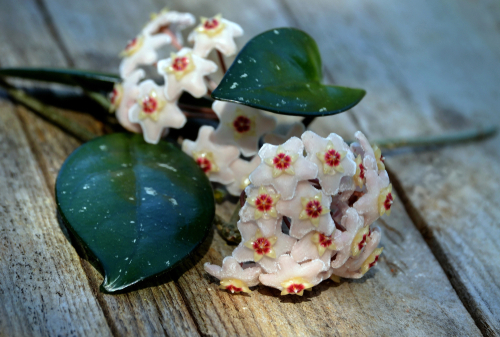
You’ll know you’ve succeeded when you see tiny new leaves sprouting at the tips! Once they look sturdy, you can move your little Wax Plants into their own permanent pots. Just a heads-up: it usually takes a few years for a young cutting to bloom for the first time, but trust me, those porcelain-like flowers are well worth the wait!