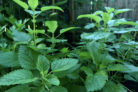
Lemon balm is a total superstar in the herb garden. Not only is it incredibly versatile in the kitchen, but it’s also a fantastic natural boost for your immune system. The best part? Getting your lemon balm through the winter is surprisingly easy. Let’s dive into how you can keep this fragrant favorite happy until spring!
Is Lemon Balm Winter-Hardy?
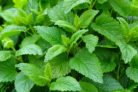
If you look up any plant profile for lemon balm, you’ll see the word “hardy” pop up every time. Even though it originally hails from the sunny Mediterranean, this herb handles chilly Northern winters like a pro. With just a few simple steps, you can successfully overwinter it in your garden beds or in containers.
Overwintering in the Garden
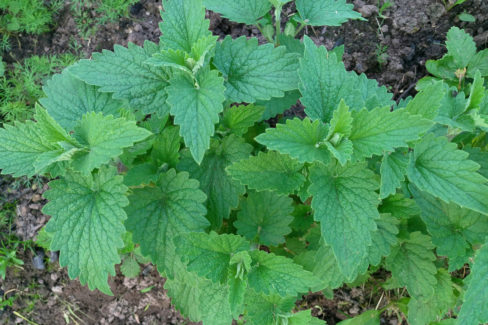
As soon as winter starts knocking at the door, lemon balm begins its own self-protection routine. It gradually pulls its energy back down into its rhizome (the root system). You’ll notice the leaves, flowers, and stems starting to wither—their job for the season is done!
While those old stems do provide a tiny bit of natural insulation, the roots don’t strictly need them to survive. Pruning back the dead growth is mostly for aesthetics to keep your garden looking tidy. One pro tip: don’t forget to give it a little water on dry winter days, as the roots can still dry out even when it’s cold.
Overwintering in Pots and Containers
When it’s planted in the ground, lemon balm is pretty self-sufficient. However, if you’re growing it in a pot, you’ll need to step in to make sure the roots don’t freeze solid. Here are a few tried-and-true tricks:
- Move the pot to a sunny, sheltered spot on the south side of your house.
- Elevate the pot on wood or styrofoam to insulate it from the frozen ground.
- Wrap the container in burlap or garden fleece.
- Cover the soil surface with a layer of straw or dried leaves.
If you have a garage or a cool basement, you can even bring the pot indoors. Just make sure the room is dark; otherwise, the plant might get confused and try to sprout too early. If you do see some leggy “false starts” in the spring, just grab your garden shears and trim them back to make room for healthy new growth.