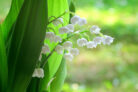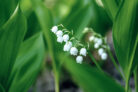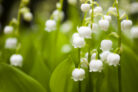
Lily of the valley is one of those wonderfully low-maintenance plants that doesn’t ask for much. Because they’re so easygoing, they’re perfect for planting in garden beds or—my personal favorite for bringing that scent indoors—right in a pot.
Getting an Early Start on Blooms
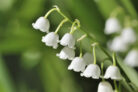
As the name suggests, the typical blooming period for lily of the valley is May. However, if you grow them in a pot indoors, you can actually get those fragrant white bells to show up a bit earlier! To do this, you’ll want to start with rhizomes (the root pips). While you *can* technically grow them from seed, I wouldn’t recommend it for the impatient gardener—germination takes forever, and it can be years before you see a single flower.
A Quick Word on Sourcing
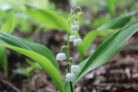
When you’re looking for rhizomes to divide, make sure they come from your own backyard or a friend’s garden. Whatever you do, don’t go digging them up in the wild! In many areas, lily of the valley is protected by law, and removing them from forests can result in some pretty hefty fines. Stick to nursery-bought pips or garden swaps to stay on the safe side.
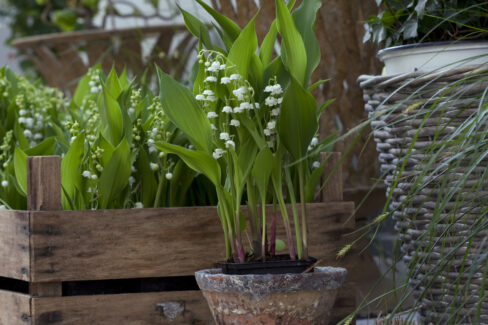
How to Pot Your Lily of the Valley
Ready to get planting? Here’s the play-by-play for potting them up:
- Carefully dig up the rhizome.
- Place it in a small hole in a pot filled with high-quality potting soil or a seed-starting mix.
- Make sure the “eye” (the little bud) is pointing upward.
- Cover the rhizome lightly with soil.
- Keep the soil consistently moist, but be careful not to overwater—you want to avoid soggy roots.
Care After the Blooms Fade
Once the flowering season is over, you have two choices: you can transplant the rhizome back into your garden, or just keep it in the pot for next year. If you choose the pot life, you just need to find the right location. Since these plants naturally thrive on the forest floor, they absolutely love the shade. Keep your pot in a cool, shady spot, and they’ll be happy campers!