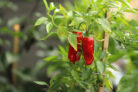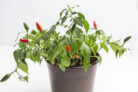
When it comes to chili peppers, the smaller they are, the more delicate they are. I see a lot of folks make mistakes during the transplanting phase that unfortunately keep their seedlings from ever making it to harvest. But don’t worry—with a few simple tricks, you can master the art of “pricking out” (thinning) your peppers like a pro.
Timing
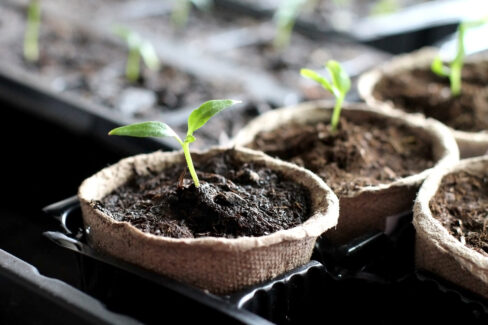
So, when is the best time to give your chilis their own space? You’ll want to wait until they start growing their first pair of “true leaves”—those are the ones that appear right after the initial seed leaves (cotyledons).
How fast this happens usually depends on your soil. Even though chili seeds prefer to germinate in the dark and in nutrient-poor seed-starting mix, they eventually need more “food” to grow. Low-nutrient soil is great for encouraging strong roots, but if the soil is too lean, the plant will eventually stop growing. If you notice growth stalling, that’s your signal that it’s time to transplant!
The Right Soil Mix
Once you move your peppers out of their starter soil, they’ll need a bit more nutrition, but you don’t want to overdo it. The key is a mix that is loose and well-draining. If the soil is too heavy, you’ll end up with standing water, which leads to root rot—and these little guys can’t handle that.
Here’s my go-to “transplant” recipe:
- 1 part vegetable potting soil
- 1 part seed-starting mix
- 1 part fine clay granules (like Turface or Perlite)
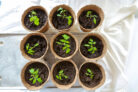
Mix it all together well and fill up your small pots.
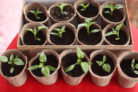
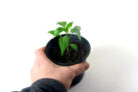
Separating the Seedlings
This is the part where you need to be extra gentle. I like to use a fork to carefully lift the seedlings out of the soil. When you move them to their new home, make sure the roots aren’t bent or cramped. This means your new pot needs to be big enough, and your planting hole needs to be deep enough to let the roots hang straight down.
Damaging the roots at this stage is a common reason why young plants don’t make it. Since they haven’t grown a massive root system yet, even a little bit of damage can be a big deal. To be safe, I always recommend starting more seeds than you think you’ll need when you grow your own chilis. That way, if a few don’t survive the move, you’ve still got plenty of plants to work with.
Aftercare
For the first few weeks after transplanting, keep the soil moist but never soaking wet. High humidity is your best friend until the roots get established. Using a humidity dome or a small indoor greenhouse is a great way to keep moisture levels steady so the soil doesn’t dry out too fast.
Just a heads-up: make sure to lift the lid regularly to let some fresh air in. If things get too stagnant, you might see mold growing on the soil, which can be dangerous for your baby peppers.