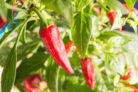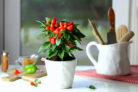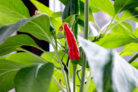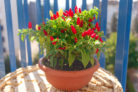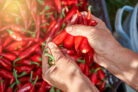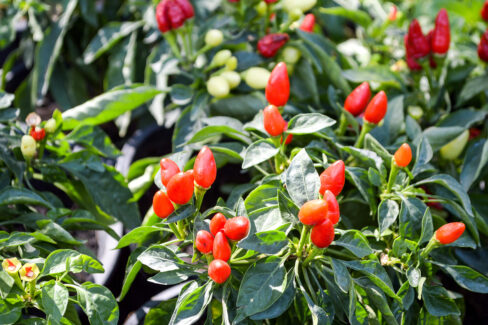
Chili peppers are a total favorite for home gardeners, and it’s easy to see why! They come in an incredible variety of shapes and colors, and of course, you can choose exactly how much “heat” you want to bring to your kitchen. Now, I’ll be honest—growing peppers takes a bit more effort than your average veggie. These little guys need specific temperatures to sprout and a cozy spot to grow before they’re ready to hit the garden beds.
Choosing Your Varieties
If you’re looking to start your own chili journey, the hardest part might just be picking your seeds! There are hundreds of varieties out there, ranging in ripening time, color, shape, and spice level. If you’re planning on growing your own chilis as a long-term hobby, I highly recommend looking for “heirloom” or “open-pollinated” varieties.
These are great because you can save the seeds yourself year after year. The next generation of plants will look and taste just like the parents. That’s not usually the case with F1 hybrids; while you *can* plant those seeds, there’s no guarantee the fruit will be the same next season.
The Pre-Soak Trick
Want to give your seeds a head start? Try pre-soaking them in lukewarm water. Just drop your seeds in a bowl of warm water and let them sit in a cozy spot for about 24 hours. A warm basement or even the top of the fridge (where there’s a bit of indirect heat) works wonders. Just a heads-up: don’t put them directly on a hot radiator! That’s a recipe for disaster.
If the water gets too hot, it can trigger a “germination block,” or worse, it could kill the seed entirely. We want them warm, not cooked!
When to Start Planting
Peppers are slow pokes. It can take up to four months just for chilis to produce their first flowers. Once those flowers are pollinated, you’re looking at another three months before the fruit is fully ripe. Because they take their sweet time, it’s super important to start your seeds as early as possible.
Some of my more ambitious gardening friends start as early as November or December! However, you really only want to do that if you have the right setup—meaning a mix of warm and cool spaces and a good grow light to make up for those short winter days.
Sowing Your Seeds
The actual planting part is pretty straightforward. Just remember: chili seeds are “dark germinators,” which means they need to be tucked under a layer of soil to sprout.
Here’s the game plan:
- Fill your pots or a seed-starting tray with soil.
- Space your seeds out evenly.
- Cover them with a light layer of soil.
- Gently press the soil down to ensure good contact.
- Give them a nice drink of water.
The golden rule? Never let the seeds dry out during germination. Use room-temperature water so you don’t chill the soil and slow things down. You’re aiming for a steady temperature of around 75°F (24°C). If it drops below 68°F (20°C), the seeds might decide to stay dormant.
If you’re using a humidity dome or a mini-greenhouse, make sure to pop the lid off every now and then to let some fresh air in. This keeps mold from crashing the party on the surface of your soil!