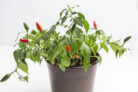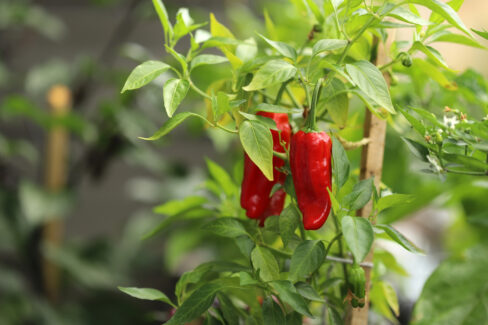
We all love adding a little homegrown spice to our gardens, but most folks tend to just grab a few starts from the local nursery. If you really want to level up your gardening game, growing chilies from scratch is the way to go! It takes a bit of effort and some patience, but getting your timing right is the secret sauce to a massive harvest.
Timing
Chili seeds aren’t exactly in a hurry—they can take up to six weeks just to germinate. Since they’re slow growers that need several months to get from sprout to first flower, you really want to get a head start.
While some varieties might pop up in about four weeks, I usually recommend starting your seeds in late January or early February. Just make sure you have the right setup: they’ll need a cozy, warm spot to start, and eventually a bright, sunny (but slightly cooler) spot once they’ve grown into seedlings.
If your windows don’t get enough natural light, don’t sweat it—you can use a grow light. Just keep an eye on the thermometer; you want the room to stay between 60°F and 68°F (15°-20°C). If it gets too warm without enough light, your plants will get “leggy” (tall and weak), which we definitely want to avoid.
Prepping Your Seeds
Quality is key here! Only use seeds that look perfect. If you see any discoloration or damage, toss ’em. Dark spots often mean mold spores are lurking, which can lead to stunted growth or your seedlings damping off later.
To give your seeds a boost, drop them in a glass of lukewarm water and let them soak in a warm spot for 24 hours. This softens the seed coat and can actually shave a whole week off the germination time!
Pro tip: Instead of plain water, try a “pre-soak” bath. A lukewarm chamomile tea or a 50/50 mix of milk and water can help promote healthy growth and protect the seeds from pathogens right out of the gate.
Sowing the Seeds
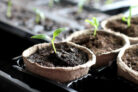
A mini indoor greenhouse is your best friend for starting chilies. Fill it with a high-quality seed-starting mix and press it down gently. I like to moisten the soil *before* planting to make sure the moisture is even throughout.
Spread your seeds out evenly and cover them with a thin layer of soil—no more than a quarter-inch deep. Give them a final misting with a spray bottle and find a warm spot (around 77°F or 25°C) for them to do their thing.
Care and Maintenance
While you’re waiting for those sprouts, the golden rule is: don’t let the soil dry out! Also, make sure to vent your mini greenhouse daily to let some fresh air in; this prevents mold from crashing the party.
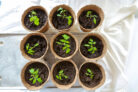
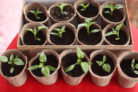
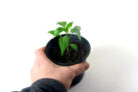
Once your plants have grown their first set of “true leaves” (the ones that come after the initial seed leaves), it’s time to transplant them into their own individual pots. From that point until they’re ready to go outside, keep them in a sunny spot that’s a bit cooler—around 50°F to 60°F—to help them grow strong and sturdy.