Growing your own chili peppers from scratch is super rewarding, and the best part? You can actually save seeds from your own harvest to keep the cycle going year after year. However, if you want to end up with sturdy plants and a massive harvest, there are a few pro tips you should keep in mind during the propagation process.
Choosing the Right Variety
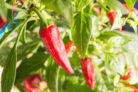
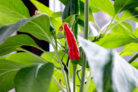
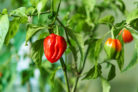
Chili peppers are close cousins to bell peppers, which means there is a massive world of varieties to explore. You’ll find them in every color, shape, and heat level imaginable. But here’s a tip most beginners overlook: pay attention to the “days to maturity.”
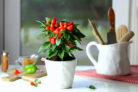
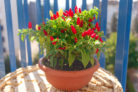
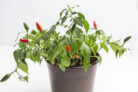
If you’re planning on growing your peppers outdoors, stick with early-maturing varieties. If you have a greenhouse, you can stretch the season a bit and go for those late-bloomers. Some gardeners even grow their peppers in pots as perennials; if you can provide the right indoor conditions over the winter, you can actually harvest fresh peppers all year round!
Prepping Your Seeds
If you’re planning to grow your own chilis, you need to be patient—germination can take up to four weeks. Because they take their sweet time, you’ll want to start your seeds early, ideally by February at the latest. Luckily, there are a few tricks to shave a few days off that wait time.
Pepper seeds often have a thick, tough outer shell that’s hard for the little sprout to break through. You can speed things up by gently “scarifying” the seeds—basically, give them a light rub with some sandpaper to roughen up the surface. For older seeds, some gardeners even carefully snip off the tiny tip of the seed coat, just be careful not to nick the embryo inside!
Another great trick is to soften the shell by soaking the seeds in water for 24 hours before planting. If you want to start your peppers like a pro, try soaking them in lukewarm chamomile tea. It acts as a natural disinfectant and helps boost germination rates.
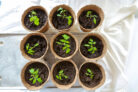
Sowing the Seeds
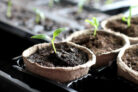
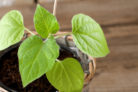
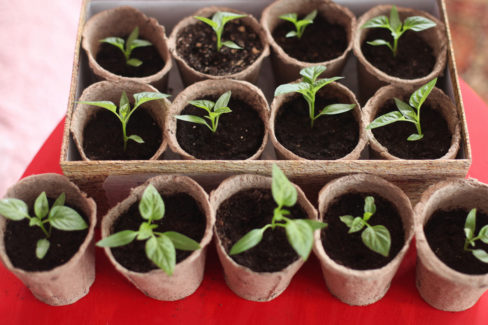
To get started, you’ll need a seed starting mix and a mini indoor greenhouse (or a tray with a clear lid). Fill your containers with soil and spread the seeds out. Cover them with about a quarter-inch (0.5 cm) of soil and give them a good watering. During this delicate germination phase, the most important thing is to make sure the soil never dries out completely. Keep them warm, keep them moist, and you’ll see those sprouts in no time!