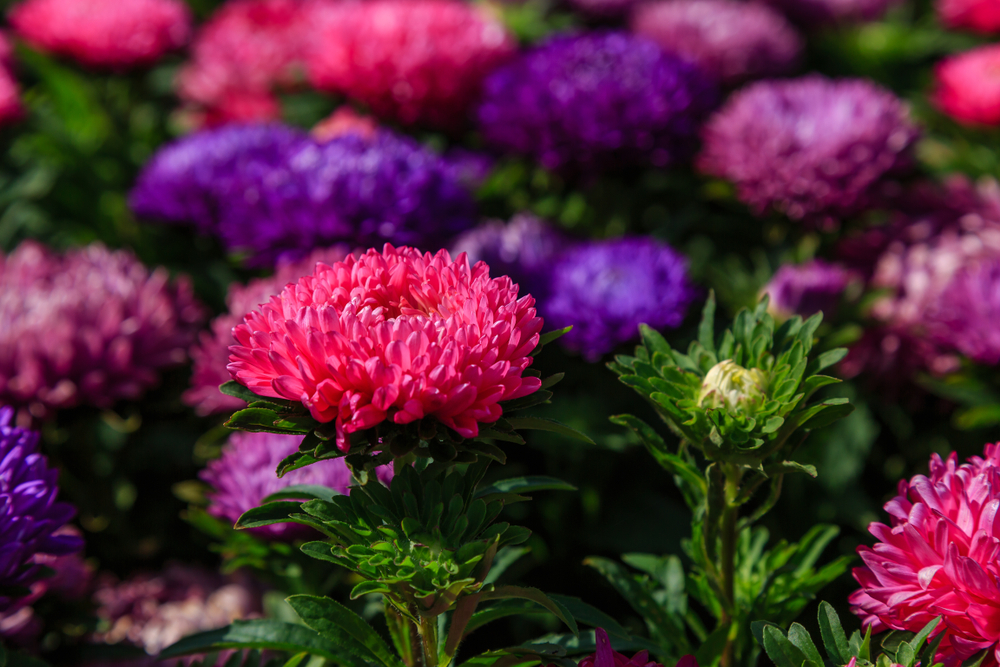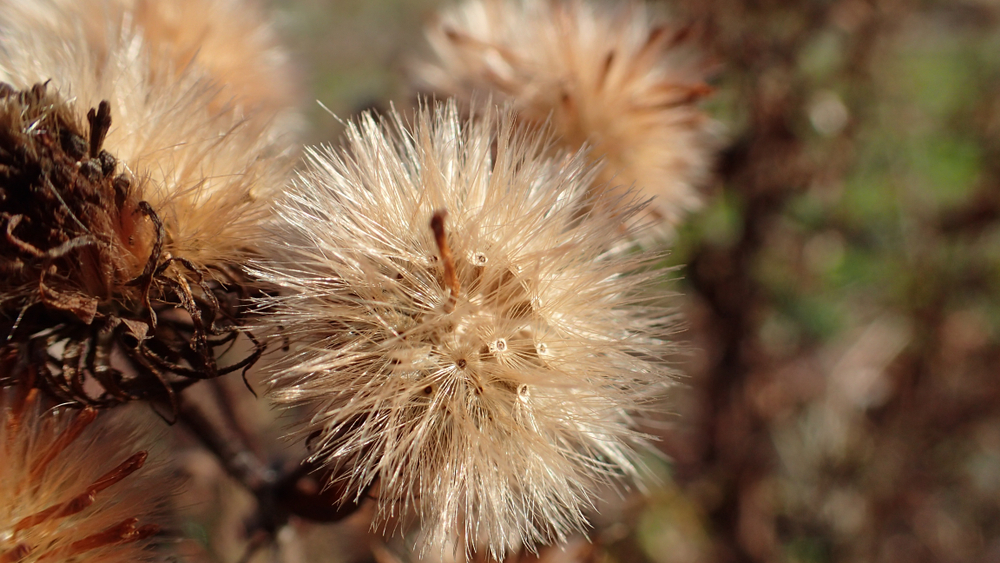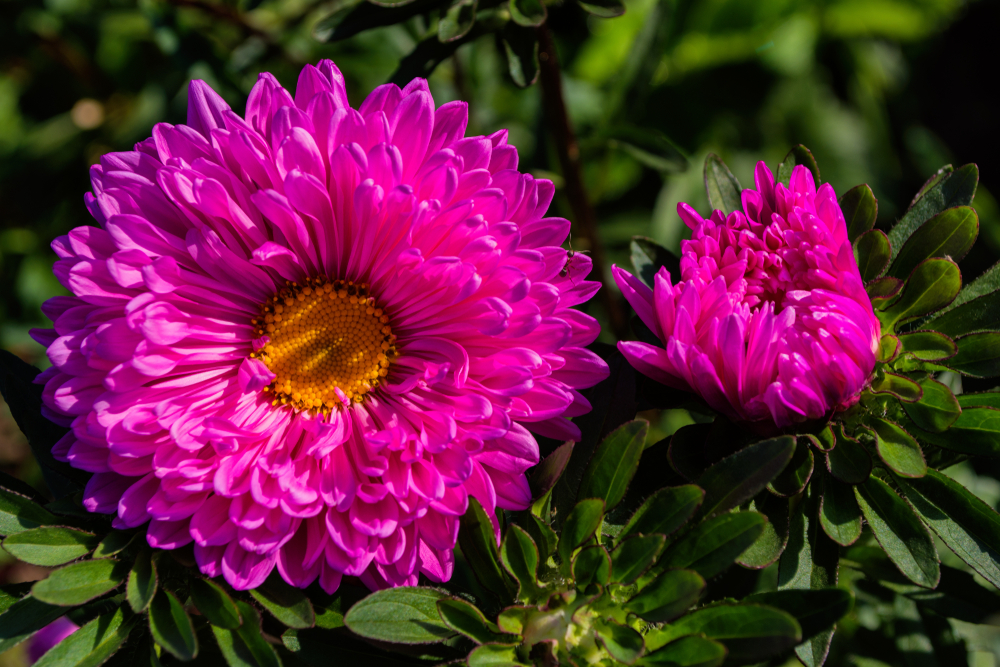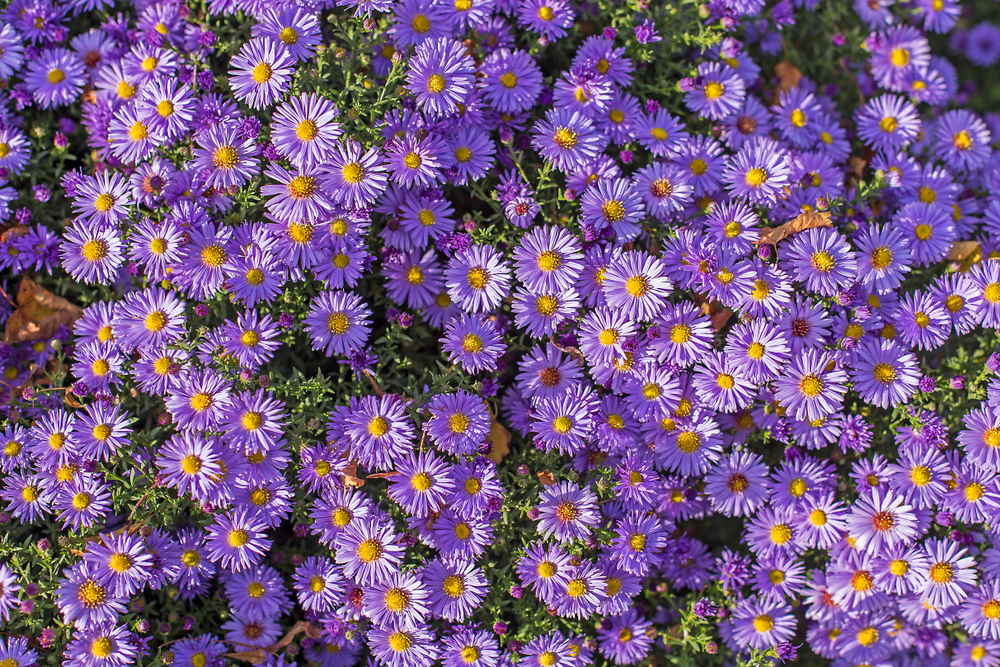
With their star-shaped blooms and vibrant colors, asters are a staple in almost every backyard garden. Whether you’re looking for pops of white, pink, red, purple, or blue, these beauties brighten up sunny or partially shaded spots with ease. If you’ve saved some seeds from your own plants this fall or picked up a fresh packet at the garden center, you’ll be happy to know that growing these low-maintenance flowers from seed is a total breeze!
Starting Your Seeds
You can get a head start on the growing season by starting your aster seeds indoors as early as February. A sunny windowsill or a protected balcony works great, as long as the temperatures stay mild. Asters generally need a germination temperature of about 50°F (10°C), and you should see those first little sprouts popping up in about 10 to 14 days. If you’d rather sow them directly into your garden beds or a cold frame, just wait until the danger of frost has passed. Either way, the process is pretty much the same:
- Fill your seed trays or pots with fresh seed-starting mix.
- Avoid using old garden soil, as asters can be a bit sensitive to soil-borne fungal diseases.
- Depending on the size of your container, poke several small holes about 1/2 inch (1 cm) deep.
- Drop 2 to 3 seeds into each hole.
- Lightly cover the seeds with a thin layer of soil.
- Place your containers in a bright, well-lit spot.
- If planting outdoors, choose a location that gets plenty of sun.
- Keep the soil consistently moist. If you’re planting outside and Mother Nature isn’t providing enough rain, make sure to give them a drink.
- Once your seedlings are a few inches tall, you can “prick them out” (thin them) and move them into their own individual pots.
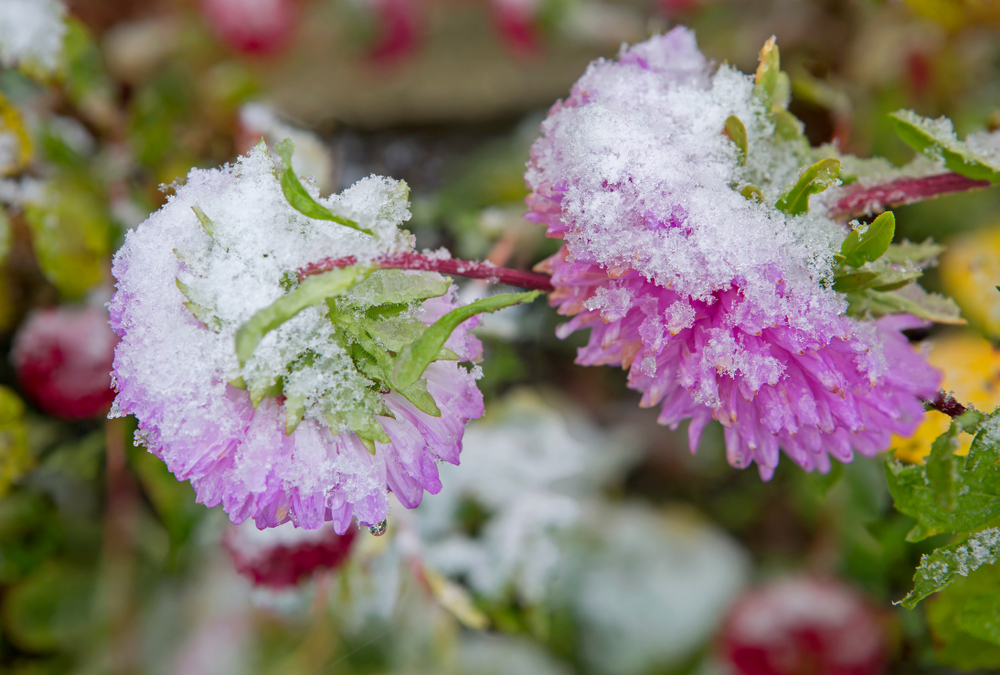
Some Asters Like it Cold
Among the many varieties of asters, there are a few—like the Alpine Aster, New England Aster, and New York Aster—that actually need a “cold snap” to wake up and germinate. This process is called stratification. To do this, place your seeds on some damp sand or a paper towel and keep them in the fridge for about 4 to 8 weeks. After their “winter nap,” you can plant them in trays just like any other variety.
Finding the Perfect Spot
Once your seedlings are strong and ready to go, it’s time to move them to their forever home in the garden. While asters aren’t super picky about their soil, they’ll be happiest in a spot that is nutrient-rich and drains well. Aim for a soil pH between 6 and 7.5. If you’re planting fall-blooming varieties, they particularly love loamy soil. Most asters crave the sun but will tolerate partial shade; just try to avoid spots with intense, scorching midday sun, which can be a bit much for them.