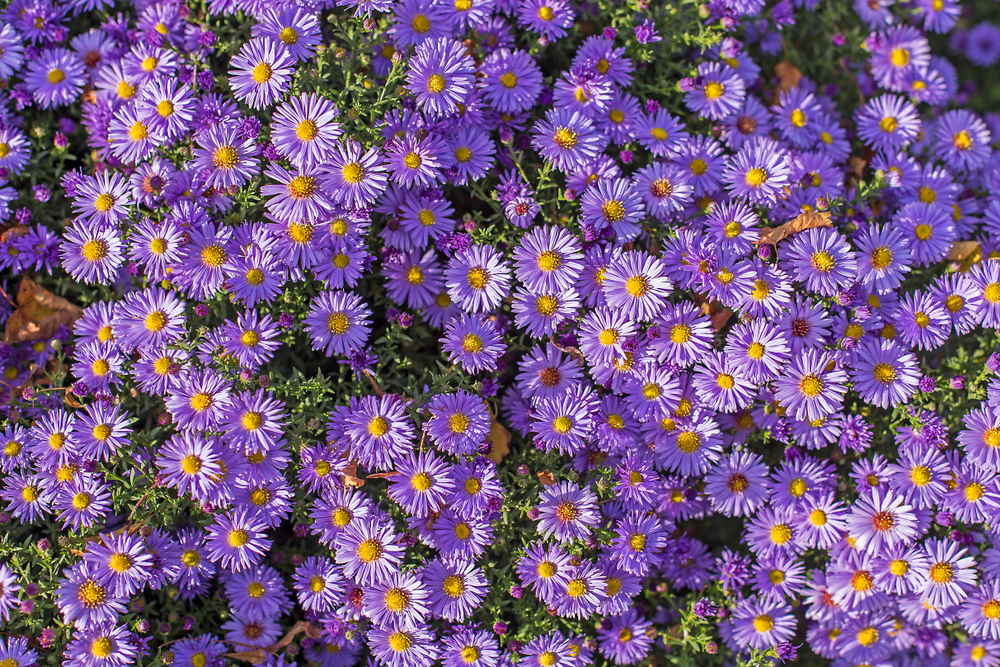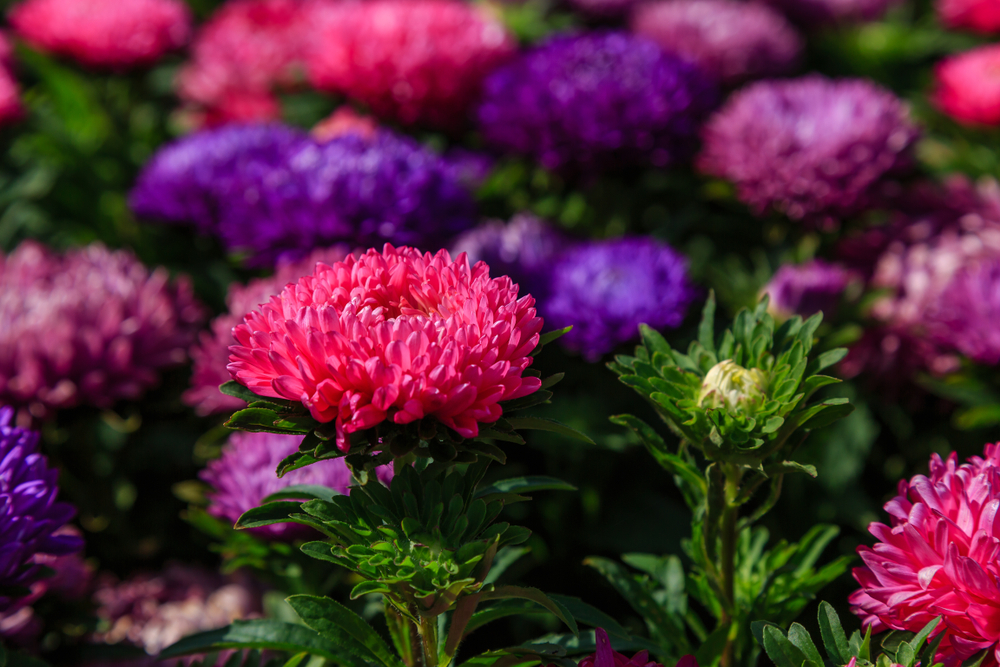
Most of us think of asters as the stars of the autumn garden, but did you know some varieties start showing off as early as late spring or mid-summer? These daisy-like beauties are super easy to grow, whether you’ve got a big backyard or just a few containers on the patio. You can start with nursery-grown perennials or, if you’re feeling adventurous, grow them right from seed.
A Closer Look at Aster Seeds
Aster seeds might not look like much at first glance, but they have some specific traits. They are “dark germinators,” meaning they need a little blanket of soil to wake up. Here’s how to spot them:
- They are narrow and elongated.
- Colors range from ocher to light brown.
- They have a smooth surface with tiny vertical grooves.
- They aren’t all the exact same size.
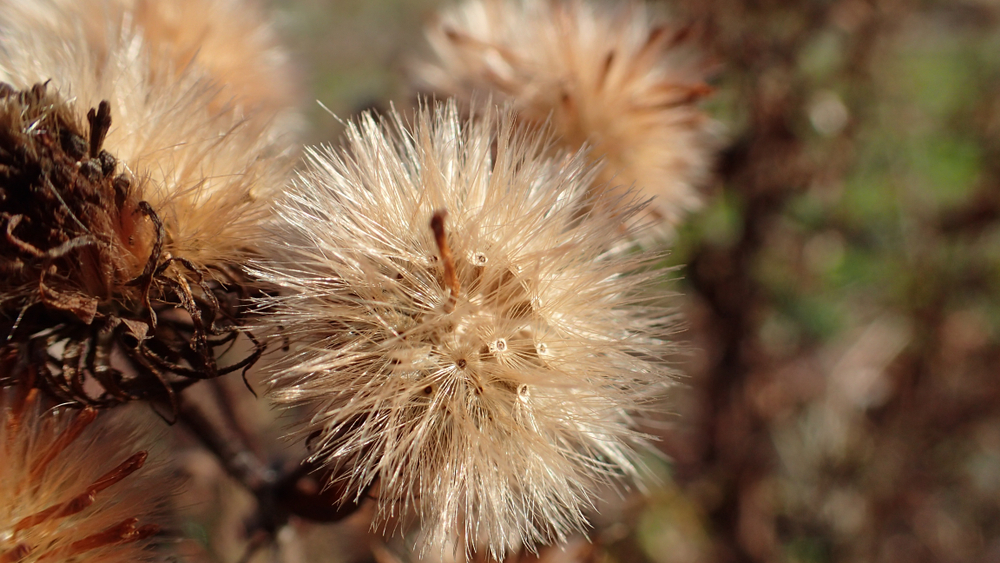
- You’ll find them huddled together in the center of a faded flower head.
Since different varieties bloom at different times, the seeds ripen on their own schedule too. You can harvest seeds from spring asters as early as July, while fall-blooming types won’t be ready until late autumn. Once you gather them, just let them dry out in small bowls on a sunny windowsill.
Why “Dark Germinators” Matter
In the gardening world, some seeds need light to sprout, but asters are the opposite. While tiny seeds often need to stay on the surface because they don’t have the energy to push through dirt, aster seeds are hearty enough to handle a soil cover. A good rule of thumb is to cover them with a layer of soil about as thick as the seed itself.
How to Sow Your Seeds
If you want a head start, you can sow aster seeds indoors in seed trays between March and April. They like a cool germination temperature of around 50°F (10°C), and you’ll usually see sprouts within one to two weeks.
- Fill your seed trays with fresh seed-starting mix.
- Gently press the soil down.
- Place two to three seeds in each planting hole.
- Aim for a depth of about 1/2 inch (1 cm).
- Cover the holes with soil and give them a good drink.
- Keep the soil moist, but make sure it’s not soggy—nobody likes wet feet!
- Once the seedlings are about 2 inches (5 cm) tall, they’re ready to be thinned or moved to individual pots.
Once the threat of frost has passed in May, you can sow them directly into your garden beds. Just make sure you pick a bright, sunny spot and keep an eye on the water if the rain doesn’t do the work for you. Pro tip: Some aster species need a “cold snap” to trigger germination. For these types, you’ll need to stratify them by popping the seeds in the fridge for a month or two before planting. After that, they’re ready to grow just like any other seed!