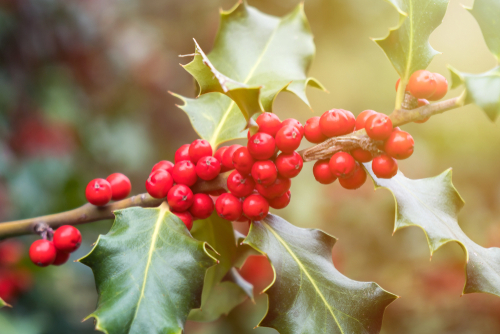
Originally native to North America, the Aronia shrub (also known as Chokeberry) is becoming a real favorite in home gardens. If you’ve got one that needs a new home, don’t worry—moving it is pretty straightforward, especially during its first year. Even older shrubs can be relocated with a little extra prep. Here’s my guide on how to get it done right.
How do I go about transplanting Aronia?
To move your Aronia, you’ll want to dig out the root ball with plenty of room to spare. Place the shrub into its pre-dug hole and give it a good soak immediately. Fill the rest of the hole with soil, press it down firmly to remove air pockets, and give it one last drink of water.
Step-by-step: How to transplant Aronia
To move your Aronia shrub successfully, just follow these simple steps:
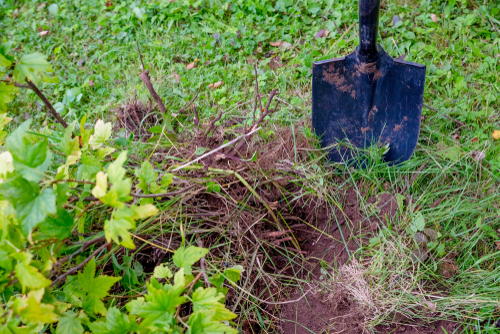
- Dig the new planting hole first.
- Carefully dig around the root ball, keeping it as large as possible.
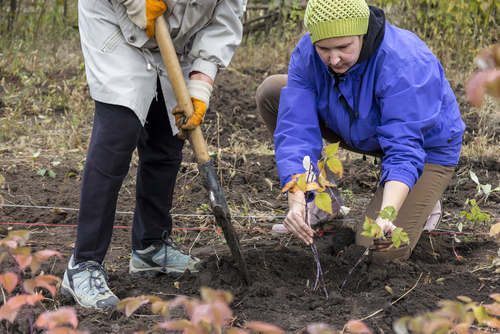
- Gently lift the plant out of the ground.
- Place the Aronia into its new home.
- Give it an initial watering.
- Fill the hole back up with soil.
- Tamp the soil down firmly.
- Water it thoroughly one more time.
This method works great for Aronia berries in their first year. For older, established plants, it’s a smart move to “root prune” a few months in advance. By cutting around the roots with a spade and waiting, the plant grows new fine feeder roots that will help it settle in much faster after the big move.
What should I keep in mind when transplanting?
For the most part, moving a shrub isn’t much different than planting a new bare-root or container-grown Aronia. However, here’s a pro tip: try planting the shrub about an inch (3 cm) deeper than it was sitting before. This helps encourage a sturdy base.
When is the best time to move Aronia?
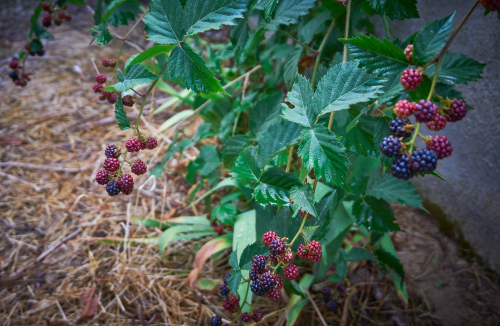
The absolute best time to transplant Aronia is in the fall, once this deciduous beauty has dropped its leaves and those healthy berries are harvested. You can safely move it anytime until the first hard frost hits the ground.
If you missed your fall window, you can also move your Aronia—whether it’s a single specimen or part of a hedge—in the early spring. Just make sure you get it in the ground before the new buds start to break.
Why would you need to move Aronia?
There are plenty of reasons why you might want to give your Aronia a change of scenery:
- You’re expanding or redesigning your garden layout.
- The original location wasn’t quite right (remember, they love full sun!).
It’s also possible the soil at the old spot just wasn’t cutting it—maybe it was too much heavy clay or too much dry sand. In those cases, you can also try amending the soil with plenty of compost or humus instead of moving the whole plant.
How do I fertilize Aronia after transplanting?
One of the best things about Aronia is how low-maintenance it is; it really only needs a feeding once a year. Fertilizing with an organic fertilizer right after transplanting provides essential nutrients and gives the shrub a nice “boost” to help it get established in its new spot.
Quick Tip: Don’t forget the spacing!
Chokeberries are shallow-rooted plants that like to spread their roots wide rather than deep. To make sure they have enough room to soak up nutrients, give them plenty of elbow room. If you’re planting a hedge, space them about 3 feet (1 meter) apart. For group plantings, you’ll want to give them even more space to shine.